If you can’t go more than a few days (or maybe even a few hours) without hearing the words “There’s nothing to eat” or “What else is there to eat?” chances are you live with a teenager. Between their increased energy needs during growth spurts and variations in day-to-day schedules, it can often seem like every time you see them, they are hunting for something to eat. On the other hand, some teens aren’t quite eating enough. Having enticing snacks that fill in nutrition gaps of imperfect eating patterns can benefit all teens.
The Four Ps for Snacking Teens #saslife Share on XEncouraging your teens to choose healthy, balanced snack options can be a challenge. In the battle between nutritional value, taste and convenience, pre-packaged, heavily-processed, addictive sweet and salty snacks often win out. Borrowing some marketing strategies from the food industry can help you edge out the competition and have your teens choosing healthy snacks more often. This is where the Four Ps come in. Marketing wizards would insist the Ps are product, price, place and promotion, but for our purposes, let’s go with Product, Portability, Placement and Packaging. 🙂
1. Product
Rethink the snack. Snacks should be a mini-meal of sorts with some quality carbohydrates for energy and some healthy fat and/or protein to satiate that hunger for longer than 20 minutes. Too little fat or protein = no end to the hunger. Some balanced options to make ahead and have on hand include:
- Sheet Pan Quesadillas or Sheet Pan Pancakes – Divide into snack-size portions and place in the freezer or fridge in an airtight container. They can be reheated in the microwave, toaster over or air fryer in a flash.
- Hummus, Olives or Guacamole and Fresh Veggies
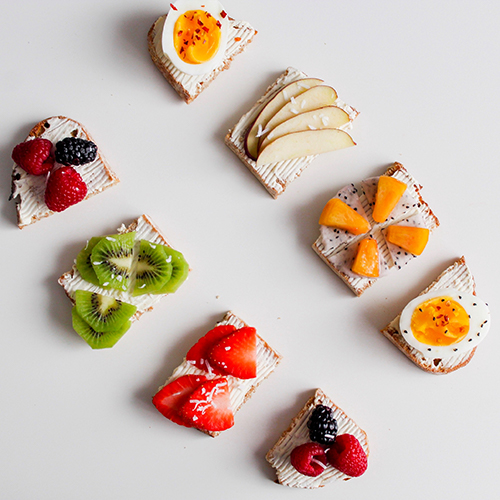
- Avocado Toast (whole wheat)
- Tuna Apple Bites
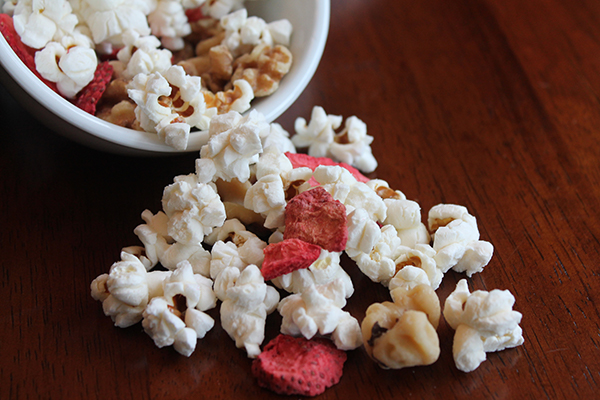
- Trail Mix – Mix with air popped popcorn to stretch it out.
- Apple and Peanut Butter Sandwiches
- Overnight Steel Cut Oats – Add some shredded coconut and a few dark chocolate chips.
- Chocolate Chia Seed Pudding
2. Portability
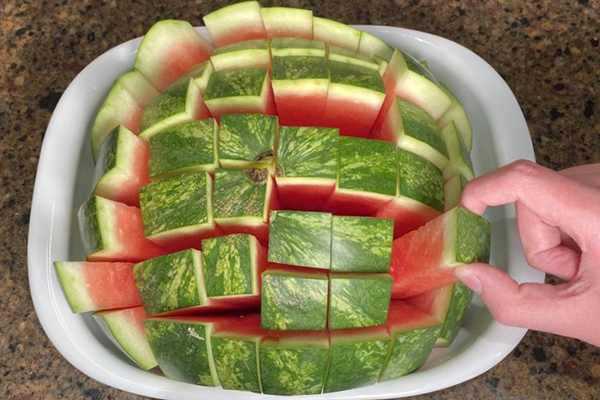
If it can be picked up with one hand and it doesn’t require a bowl, utensil, napkin, etc., it’s a winner in my household. The following ideas fit the bill:
- Blender Muffins
- Powerful Protein Bars
- Homemade Energy Bites
- A piece of fruit and a hard-boiled egg
3. Placement
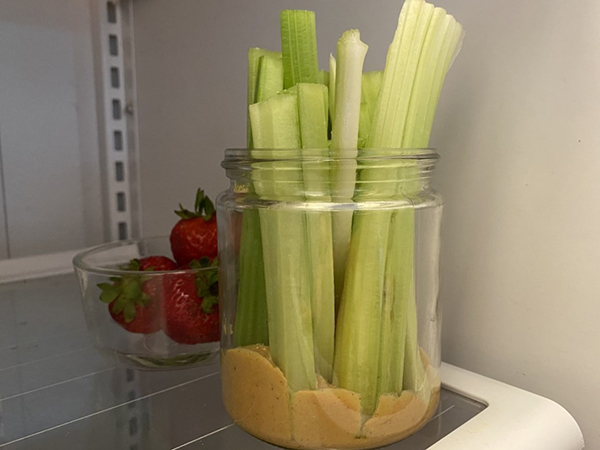
Put healthy snacks in obvious places – at eye level, ideally without a lid, and for goodness sake, never behind the milk! If you are encouraging a strategic pairing (e.g., veggies and nut butter, apple and cheese), put them next to each other in the fridge…or better yet…in the same container. I personally feel like I’ve hit the jackpot on days we have just a couple spoonfuls of peanut butter left, and I can leave some stalks of celery or carrots sticking out of the jar front and center in the fridge…it seems to magically disappear throughout the day.
4. Packaging
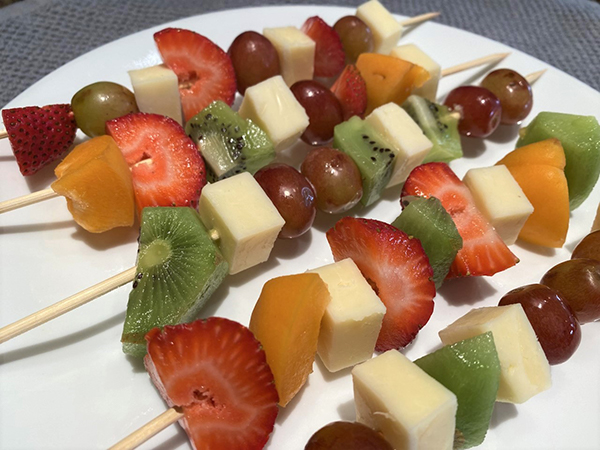
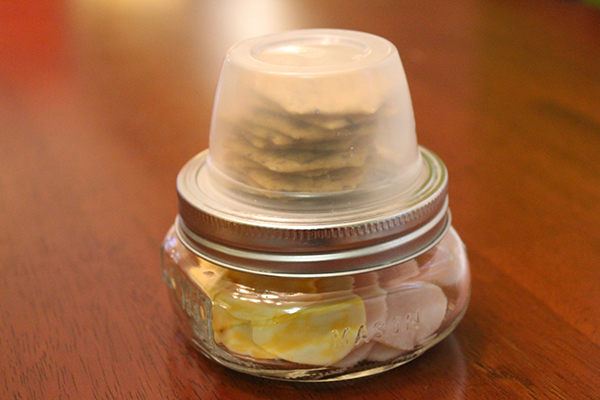
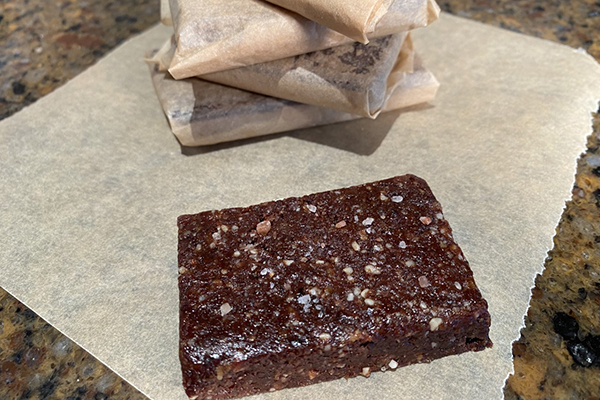
A novel presentation sometimes helps to draw in even the pickiest of eaters. Wrap home-made protein bars neatly in parchment paper, put fruit or vegetable bites with cheese on skewers, or make your own Mason Jar Snack Packs, and wait for them to disappear.
Store-bought snacks can be a big time-saver too. Check out these store-bought snacks with simple ingredients.
What healthy snacks do your teens love?
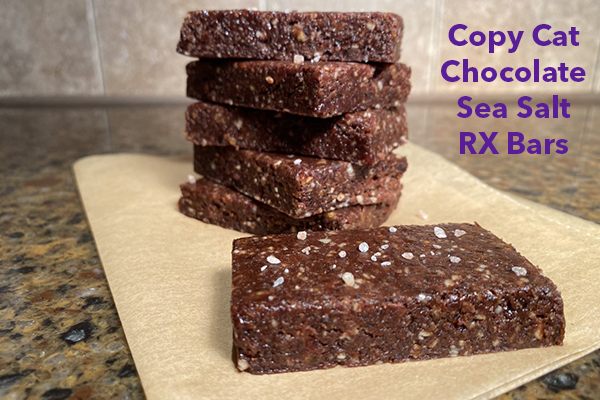
Copy Cat Chocolate Sea Salt RX Bars
Makes 20 Servings
Recipe Adapted From The Kitchen
PRINT RECIPE
Ingredients
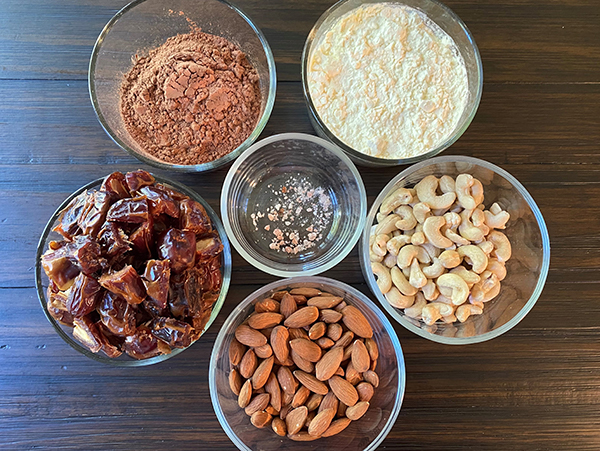
1 cup whole raw almonds (about 5 ounces)
1 cup whole raw cashews (about 5 ounces)
1¼ cups egg white protein powder (3 ounces)*
½ cup unsweetened cocoa powder (2 ounces)
1 lb pitted dried dates, quartered
(preferably Medjool, 28 to 30)
Up to ¼ cup water (as needed)
½ tsp coarse sea salt
Directions
- Place the almonds and cashews in a food processor. Process until finely chopped into a crumb consistency, 1 to 1 ½ minutes.
- Add the egg white protein powder and cocoa powder and process for 30 seconds. You may need to stop the machine and scrape down the sides of the bowl.
- Add the dates and process for 3-5 minutes. The processor will be very full so the dough probably won’t form a ball, but it should feel slightly tacky and hold together when squeezed. Add up to ¼ cup water until desired consistency is reached.
- Line a 9×13 or 11x7-inch pan with parchment paper so the paper extends at least a few inches beyond the edges of the pan.
- Transfer the date mixture to the prepared pan.
- Press down into an even layer with your fingers. You can also use a piece of parchment paper on top to help you press the dough into a smooth layer and keep your hands from getting too sticky.
- Sprinkle with salt and press lightly to adhere.
- Refrigerate for at least 1 hour or freeze for 30 minutes to set.
- Grasping the parchment, pull the slab out of the pan and place on a cutting board. Using a pizza cutter or large knife, cut into 20 bars for RX Bar size or more for smaller snacks.
- Store the bars between parchment paper in an airtight container, or wrap them individually in parchment paper for easy transport. Store in the refrigerator for up to 2 weeks or freeze for up to 3 months.
Notes
- You can substitute an equal amount of collagen peptides powder in place of egg white protein.
- If you like your bars with a little crunch, scoop out about ¼ cup of chopped nuts during step 1 before they are fully crumbled, sprinkle them on top of the mixture and press them in after transferring the mixture to a pan.