Well, Sam, I aim to please! Now, I'm not the guy who builds the SAS Windowing Environment interface, but if you are running PC SAS, I can show you how to customize your tool bar to do just that: make this macro execute from a button. First, we'll change the name of this macro to Data2DataStepButton and I'll add a bit of code to the beginning of the macro to provide a dialog box to accept input for the macro parameters. Make sure to save the code for this macro to a file named data2datastepbutton.sas somewhere in your SASAUTOS path. The remainder of the code is the same as the original Data2DataStep macro.
%macro Data2DataStepButton(dsn,lib,file,obs); %local varlist msgtype ; %window Data2DataStep columns=80 rows=20 # 3 @ 6 'Libref: ' lib 41 attr=underline # 5 @ 6 'Data Set: ' dsn 41 attr=underline # 7 @ 6 'Program file name: ' file 50 attr=underline # 9 @ 6 'Number of Obervations: ' obs 3 attr=underline #12 @ 6 'Press ENTER to continue'; %display Data2DataStep; ... |
Now let's customize the toolbar in PC SAS to add a button that executes this macro.
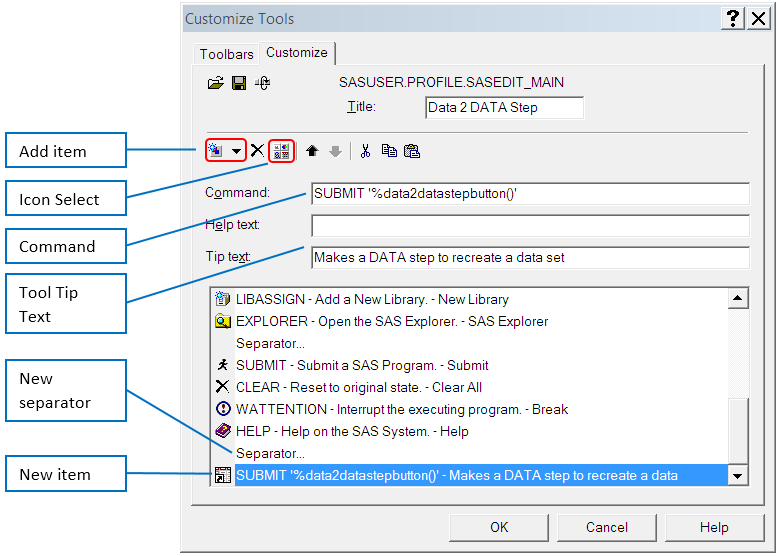
Step 1: Right click on an empty spot on the SAS toolbar, and choose "Customize" from the pop-up menu.
Step 2: In the dialog window, choose the Customize tab.
Step 3: Use the Add Item button to add a new separator and a blank tool at the bottom of the list. You can use the up/down arrow buttons to re-arrange items if necessary.
Step 4: Choose an icon to display on the toolbar using the Icon Select button.
Step 5: Give your new tool a title, command to execute and some tool tip text to make it easier to remember what the button does. When finished, the dialog will look something like this:
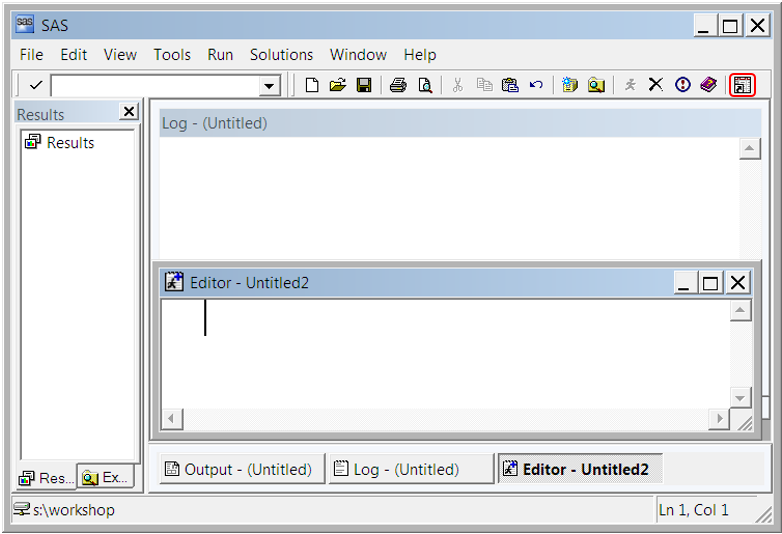
 Step 6: Click OK and, when asked if you want to save your changes, click Yes. Your new button should appear on the SAS toolbar.
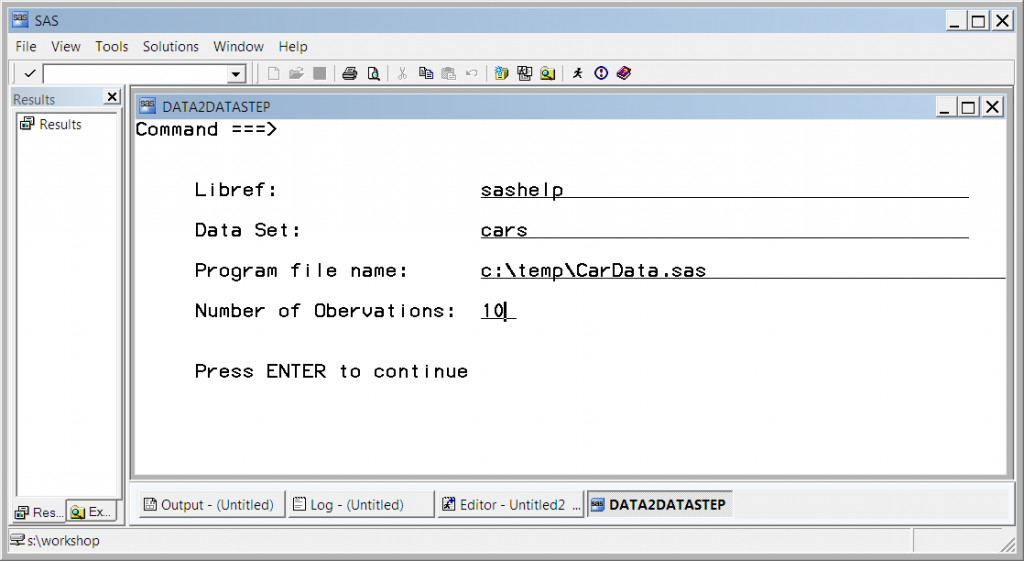
To test your button, click on it! The macro dialog will appear. Fill in some values and press ENTER to generate your SAS program:
WooHOO - we've made our own custom tool button in Base SAS! As usual, you can download the SAS code (and a PDF copy of these instructions) here.
Until the next time, may the SAS be with you!
Mark


3 Comments
Pingback: Jedi SAS Tricks: DIY Tasks in SAS Studio - SAS Learning Post
For SAS Enterprise Guide users, I'll make the plug once again for this custom task, which cranks out a SAS code version of your data set.
An excellent choice for Enterprise Guide users! My next blog will create a custom task for SAS Studio that does the same thing, then we'll have all the major interfaces covered :-)