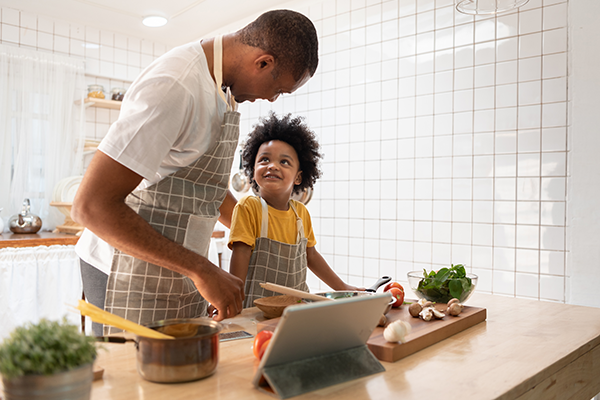
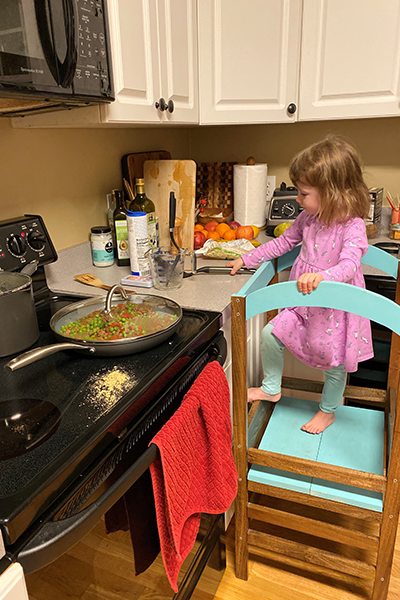
Learning how to cook simple recipes is a necessary life skill. It becomes very difficult in our current world to eat in a health sustaining way if you are relying on eating out or on highly processed, pre-prepared foods. Cooking real food doesn’t have to be complicated. Also, cooking isn’t just about the food. Preparing meals together can help your kids learn math, reading, chemistry, history, build confidence and encourage imagination.
Learning to cook is an important life skill, check out this blog for tips and ideas of how to get cooking with your kids! #saslife Click To TweetKids can be included in just about all aspects of the cooking process – planning, shopping, prepping and cleaning up.
Meal Planning
Set aside time each week to plan your weekly menu. Kids like having options. For example, give them protein or veggie options to choose from. Include lunches in the plan as well. You can also use this time to teach them a little about how to create a healthy plate. Just keep it simple and avoid any talk about weight — yours or theirs.
Grocery Shopping
From the menu, create your shopping list. Let your kids help you at the grocery store. This can be another learning opportunity. If time allows, browse the produce section and let them pick out one new fruit or vegetable to try each week. Tell them a little about each item as you shop, or if you don’t want to take them to the grocery store, do this as you unpack your groceries at home.
Prepping
This part will vary depending on your kid’s age. Start with simple tasks like washing salad greens (kids LOVE the salad spinner!), pulling herbs off the stem, measuring spices, etc. Kids love to push buttons too, so let them push the buttons on the microwave or air fryer. As they get older and more experienced, they can help chop vegetables, crack eggs and eventually make their way to the stove to actually cook the food.
All kids are different and develop at different rates, so follow your instincts with what would be safe for YOUR child to do, but here are some examples of kitchen tasks by age range:
Toddlers
They will still need lots of instruction and supervision, but they’re likely to be very enthusiastic about helping out!
- Pour dry and liquid ingredients into a bowl
- Rinse fruits and vegetables
- Scrub potatoes
- Pick herbs off the stem
- Tear greens into pieces
- Stir ingredients together in a bowl
- Sprinkle salt or herbs
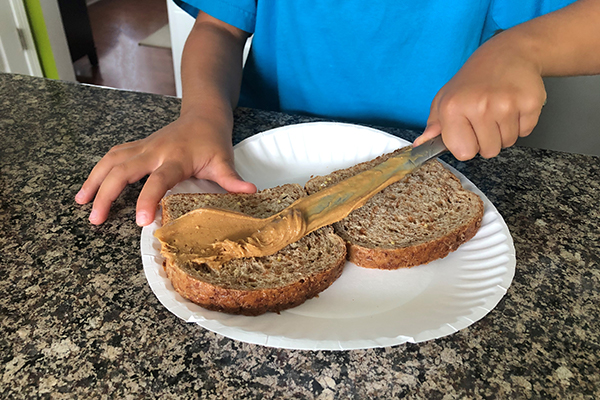
- Spread soft butter or nut butters
- Cut bananas with a butter knife
- Put muffin liners in tins
3-5 years old
- Cut soft foods with a plastic knife
- Juice lemons and limes
- Crack an egg
- Peel a cooled hard-boiled egg
- Measure and level dry ingredients with a straight edge
- Whisk a vinaigrette
5-8 years old
Since kids learn to read around this age, it’s great to read recipes out loud together. In addition to all the above tasks, many elementary-age kids can begin to:
- Use a small paring knife
- Cook with you at the stove
- Make scrambled eggs
- Flip foods in a skillet (pancakes, etc.)
- Use a can opener, garlic press, or microplane grater
- Peel fruits and vegetables
- Grate cheese with a box grater
- Drain and slice tofu
- Form patties
- Scoop batter into muffin cups
8 and up
- Prepare simple meals on their own
- Perform most adult tasks with slight modifications
Some more meal prepping tips:
- Start slow and with simple recipes (like the cookies below).
- Schedule time to start cooking with your kids when you have plenty of time – not on a busy weeknight.
- Let them make mistakes unless there is an immediate safety concern. This is how they will learn.
- Have kids crack eggs into a separate bowl, so you can fish out the shells if needed.
- Use bowls that are bigger than needed so there is extra room for their enthusiastic stirring.
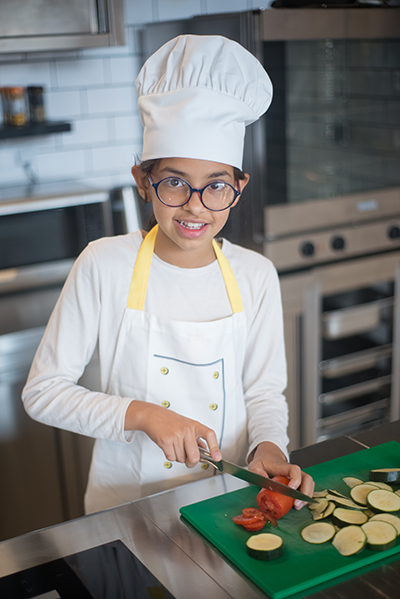
- Use a butter knife to start practicing knife skills – banana, zucchini, lettuce and other soft fruits and veggies can be sliced with a butter knife.
- Be patient. Having fun in the kitchen will encourage them to keep cooking.
Cleaning Up
This part will also vary depending on your kid’s age. Little ones can wipe up spills, wipe off the dining table and even use a little broom to sweep the floor when the meal prep is all done. The older they get, the more they can help wash dishes or load the dishwasher, wipe off the counter, etc.
A Note about Kitchen Safety
Always be sure to practice kitchen safety. Keep young children away from sharp knives and hot stoves and use your best judgment when deciding if your child is ready for a more challenging task.
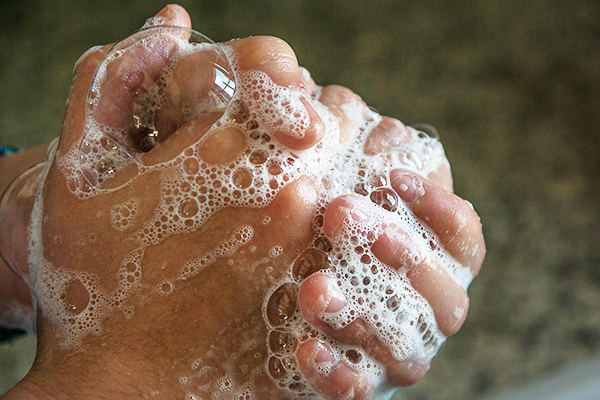
Don’t forget about food safety as well. Make sure to teach your kids to handle raw eggs, meats and fish with care and to wash their hands thoroughly after touching.
Don’t forget: You should always supervise your child in the kitchen!
Allowing your kids to help plan and prepare meals from start to finish can help increase their appreciation of the food and may even help with picky eating, as they are more likely to eat it if they helped prepare it. So, get your kids in the kitchen – and have fun doing it!
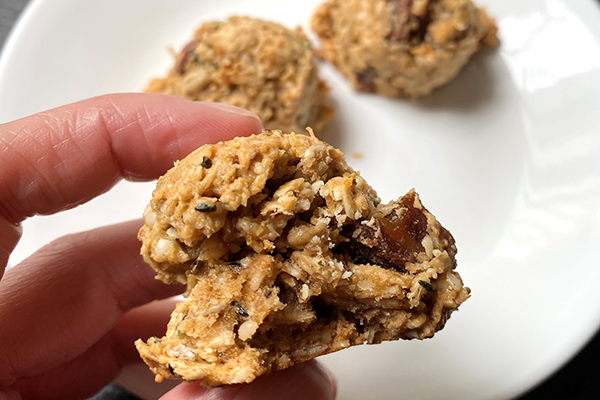
Breakfast Cookies
Recipe Adapted from Rainbow Plant Life
Makes 24-30 cookies, depending on size
PRINT RECIPE
Ingredients
2 Tbsp ground flaxseed meal
5 Tbsp water
2 cups rolled oats
½ cup unsweetened shredded coconut
½ tsp baking powder
½ tsp baking soda
½ tsp fine sea salt
¾ cup smooth, creamy variety of peanut, almond or cashew butter (sunbutter also works!)
⅓ cup pure maple syrup
1-2 Tbsp milk of choice
1 ½ tsp pure vanilla extract
Mix-Ins
½ cup dried fruit (I loved chopped apricots or figs)
½ cup pepitas, sunflower seeds or nuts of choice chopped
⅓ cup hemp seeds (also called hemp hearts)
Directions
1. Prepare the flax eggs. Combine ground flaxseed meal with water. Stir and let sit for 10-15 minutes to gel together.
2. Preheat the oven to 350ºF/175ºC. Line two large baking sheets with parchment paper.
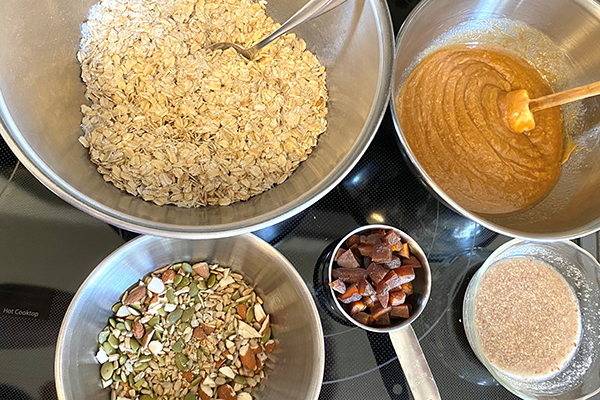
3. In a large bowl, mix together the dry ingredients: oats, coconut, baking powder, baking soda and salt.
4. In a medium bowl, mix together the wet ingredients: nut butter, maple syrup, milk, vanilla and prepared flax eggs. Whisk until smooth and thick.
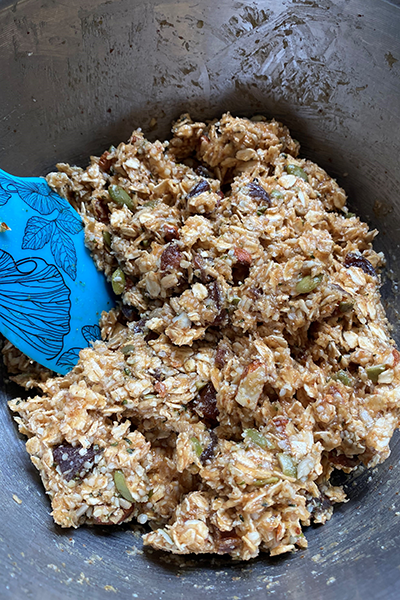
5. Pour the wet mixture into the dry ingredients, using a silicone spatula to mix everything until the mixture resembles a cookie dough. Fold in your desired mix-ins (dried fruit, chopped nuts/seeds and/or hemp seeds) using the spatula. If the dough is too sticky to handle, refrigerate it for 10-15 minutes to firm up slightly.
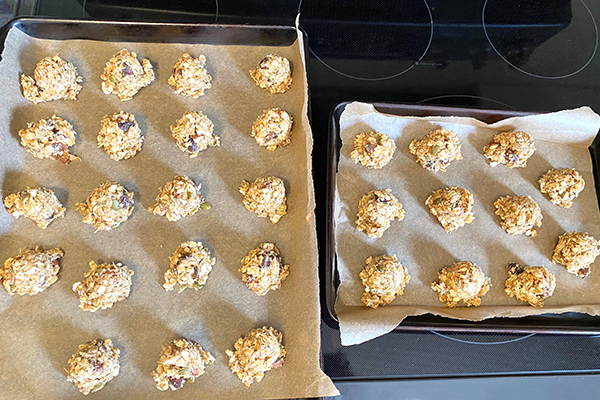
6. Use a small ice cream scoop (to get about 30 cookies) or large spoon to scoop about 3 Tablespoons of dough onto the prepared baking sheet, spacing them about ½ inch apart – they don't really spread. Alternatively, measure out 3 Tablespoons and shape the dough into a round ball using your hands. Lightly flatten the top of each cookie with your hands.
7. Bake the cookies for about 10-15 minutes, or until just starting to brown (don’t overbake). After 5 minutes, use a spatula to carefully transfer them to a cooling rack. Store leftover cookies in an airtight container on the counter for 5 to 7 days, or in the freezer for up to 3 months.
