When my son started kindergarten last year, I was excited to embark on the lunchbox packing adventure. The year started out strong but about a month or two in, the novelty wore off. Sound familiar?
While this school year looks very different for most of us, the dreaded school lunchbox is still alive. Yes, you may not have to physically pack lunchboxes right now (yay!), but you still have to feed your kids something (and there’s no school cafeteria as a backup, yikes!).
Whether your kids are physically in-school or at home doing virtual learning, planning and preparing healthy lunches is a task worth mastering and learning to enjoy.
Lunchbox 101
Working from home while being a teacher, babysitter and short order cook is no small feat! The last thing you have time for in the middle of a chaotic day is “Mom/Dad, what’s for lunch?”
How do you juggle all these tasks? Where do you start? The basics of course! Lunchbox 101: Fresh ideas for the school lunchbox has loads of simple strategies for streamlining the lunch making process while bringing excitement and nourishment to your child’s day. There are also suggestions for apps and lunchbox accessories and some fun themed lunch ideas. Be sure to check this out! It’ll be well worth your time.
Learn how to lineup your children's school lunchboxes with ease and enjoyment. #mealprep #saslife Share on XThis unprecedented year pushed me to kick my lunch planning process up a gear, so I wanted to share a few more strategies that I’ve found help save my sanity one lunch at a time (pandemic or not!).
Involve Your Children Every Step of the Way

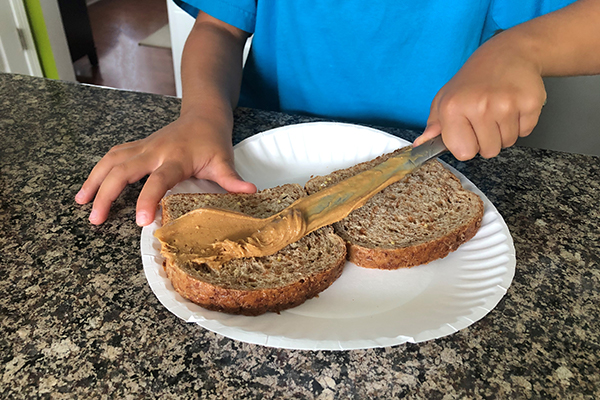
Start them young! Take some of the stress and pressure off yourself by letting your children participate in every step of the lunch packing process from planning to shopping to preparation. Teach them the components of a healthy, well-balanced meal and how to plan- they’ll thank you when they’re older. Children are also more likely to try new foods and eat a wider variety of foods when they are involved in the preparation process.
Make a Plan and Write it Down
Use this Lunchbox Lineup as a meal planning guide. On Saturday or Sunday, sit down with your children and look over the list. Let them pick which foods from each group they would like to eat that week. Then shop accordingly to ensure items are available. (The foods on this guide are just a suggestion. Don’t see some of your family favorites? Write them in on the space provided.)
Be sure to choose at least one food from each group for a balanced meal (protein + healthy carbs + fruit + veggies). Teach your children this formula and let their imaginations run wild. The combinations they like and what you would choose may be different, but that’s okay, whatever works.
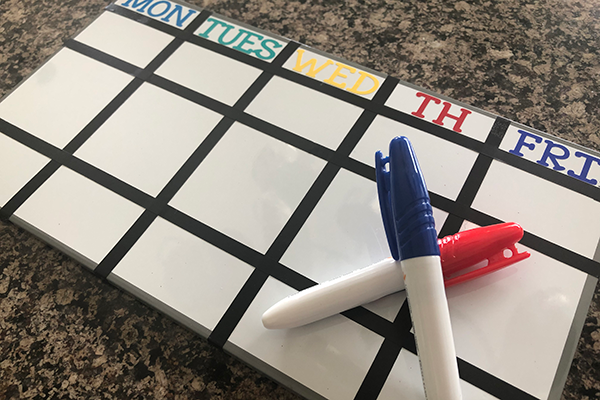
Write the meals down as you go and when you're done, put it in a place that is easily visible so everyone in the house can quickly see what’s for lunch each day. I created a magnetic dry erase board (pictured above) with spaces for morning snack, lunch and afternoon snack that hangs on the side of the fridge next to the cabinet with lunchbox accessories for easy access each morning. (You don’t have to go all Pinterest like I did; a simple piece of paper will do 😊)
Establish a Lunchbox Rotation
As mentioned in Lunchbox 101, create enough ideas for 2 weeks of lunches and rotate these 2 weeks the entire school year. That’s more variety than most humans eat! Check out Lazy Lunchbox Lady for some inspiration to help get started.Another strategy to streamline your process is to establish a lunchbox rotation. This is especially helpful if you find yourself with decision fatigue or packing the same things over and over. It will also give your children some structure to make choices within so PB&J isn’t on the menu 5 days a week.
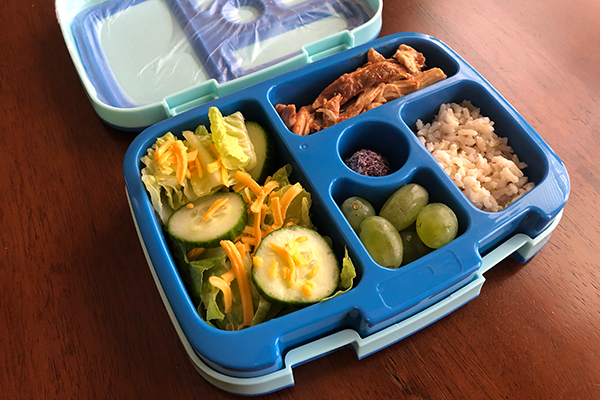
Above is a visual tour of some of my son’s lunches from last school year. You’ll notice lots of similarities with slightly different combinations- lunchbox rotation at its finest! Here’s what our rotation looks like (in general of course- I always leave room for flexibility and using up leftovers!):
- Mondays: quesadilla/wrap/hot sandwich
- Tuesdays: leftovers
- Wednesdays: DIY lunchable
- Thursdays: breakfast for lunch
- Fridays: sandwich
Prep, Prep, Prep!
I’m naturally a planner and batch cook my own lunches for the week on Sundays but didn’t think about expanding that out for my son. About halfway through the school year, I decided to give it a try and I haven’t turned back since.
After you’ve planned and shopped for the week, wash/chop/prepare as much as possible on Sunday and stack it in the fridge. You may need to invest in a few more containers and reusable bags, but it’s totally worth it! I also keep sliced grilled chicken, cottage cheese pancakes, blender muffins and other favorites in the freezer to save on cook time during the week.
Lunchbox Hacks
The more lunches you pack, the more tricks of the trade you discover. I wanted to share my favorite finds that saved me in our first year of packing lunches.
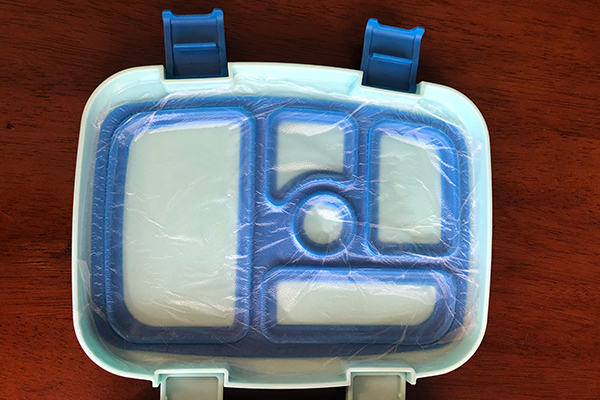
- Bento Box Lid Saver: The rubber seals on the lids of some bento box style containers can get pretty gross over time. To extend the life of your containers, place a piece of press and seal plastic wrap on the inside of the lid. When it gets dirty, simply toss it and put on a new one!
- Keep Hot Food Hot: To ensure food stays hot until lunchtime, use this trick with a thermos. Heat water in a glass container in the microwave until boiling. Pour water into a thermos and quickly screw on the lid. Let it sit until you’re done fixing breakfast, packing the rest of the lunchbox, etc. Heat the food in the microwave as you normally would if it would be eaten immediately. While it’s heating, pour the water out of the thermos and wipe dry. Add the heated food and quickly reseal the lid. It’ll be just as hot hours later at school!
- No More Soggy Food: Soggy chicken nuggets or pizza are the worst! When sending breaded items (chicken nuggets, pizza, grilled cheese, etc.), follow the steps above for keeping hot foods hot but place a dry paper towel or napkin in the bottom of the thermos before adding the heated food. It’ll soak up extra moisture in the container and keep the food crisp.
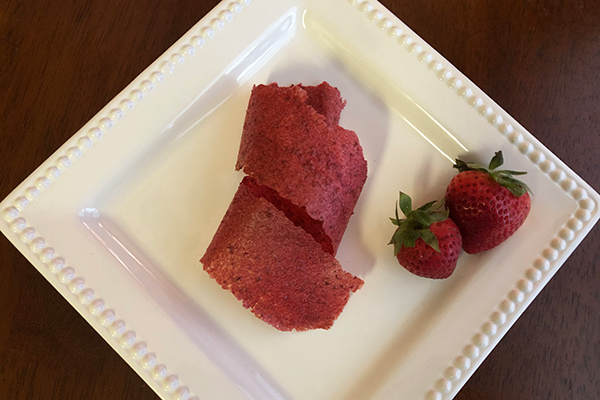
Strawberry Fruit Leather
Recipe from Sweeter than Sweets
Makes 8-10 strips
PRINT RECIPE
I’ve wanted to try making my own fruit leather for a while but didn’t like the idea of having my oven running continuously for hours. Then I finally found this energy-efficient method! It’s a fun way to use up extra fresh fruit and a treat your kids will love.
Ingredients
25 medium-sized fresh strawberries (or any other fruit of choice)
Directions
1. Pre-heat oven to 275°F.
2. Line a rimmed baking sheet with parchment paper.
3. Rinse and dry strawberries. Remove and discard green caps.
4. Place strawberries in a blender or food processor and puree until smooth. You’ll want about 2 cups of pureed fruit.
5. Pour pureed strawberries onto prepared baking sheet. Spread evenly in a thin layer.
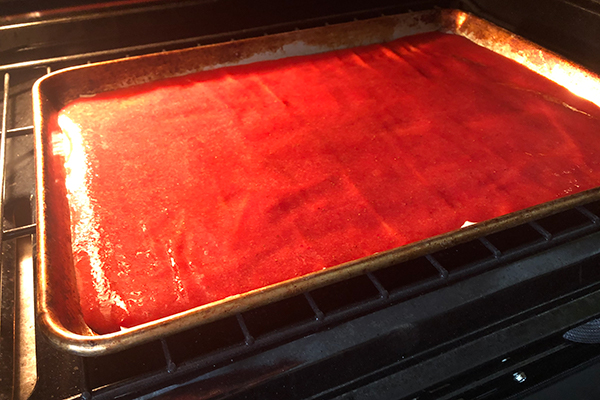
6. Cook in the oven for 30-35 minutes. Turn the oven off and leave the door closed for 8-10 hours or overnight.
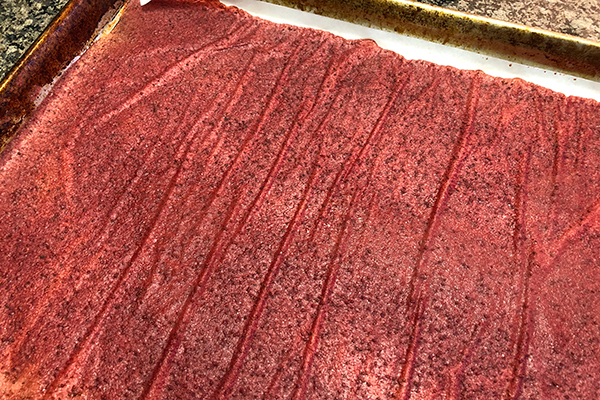
7. Peel fruit leather off the parchment paper.
8. Cut into long strips about 1 inch wide.
Notes: For a quicker option that isn’t quite as energy-efficient, cook in a 175°F oven for 3-4 hours with the oven door slightly open.