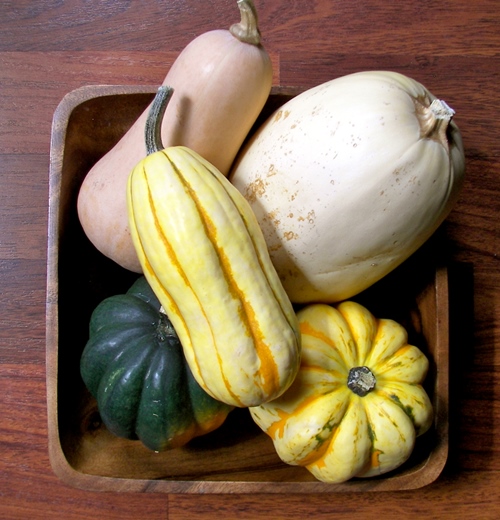
Winter squashes have risen in the ranks of foodie popularity over the past few years due to their delicious sweet flavor and versatility. And, BONUS...nutritionally they are off the charts! Their bright flesh colors of yellow, apricot and orange indicate they supply high amounts of the antioxidant, beta carotene.
Winter squashes are high in fiber and are lower in carbohydrates than other starchy vegetables. For instance, 1 cup of butternut or acorn squash has the same calories and carbs as ½ cup of sweet potatoes. And, spaghetti squash is considered a low carbohydrate vegetable instead of a starchy vegetable so a serving of spaghetti squash is 1 ½ cups. Winter squashes are volumetric, too, which means they provide a lot of fullness for their minimal calories. Winter squashes make appearances on dinner menus at my house multiple times a week.
The challenge with Winter squashes is their daunting hard skin. Many a kitchen injury has occurred from wrestling a Winter squash. There are a few tricks that are essential for cutting these beauties. If you implement these strategies for cutting Winter squashes you will fear them no more.
Love winter squash but hate wrestling to get into them? Fear no more with these essentials tips for cutting winter squash. #saslife Share on XGeneral Tips for Cutting Winter Squashes
- Stabilize. Place a wet dish towel under your cutting board to keep it from slipping. You can also place a wet towel on top of your board to keep vegetables from shifting.
- Use good sharp tools. A large, sharp knife is a must. Dull knives make this task even more dangerous. Have your knives sharpened regularly. An 8” Chef’s knife is recommended. If peeling the squash, use a sharp peeler. A Y-shaped Swiss peeler like THIS is a chef’s favorite.
- If possible, cut a flat surface on the squash to help stabilize it when you cut it.
- Cut down vertically. If your knife gets stuck in the squash, use a mallet or your hand to tap on top of the knife as it cuts into the squash. Or, you can lift the knife with the stuck squash attached and gently tap the entire squash on the cutting board so the knife will travel through it.
- Place a dish towel over the knife tip when cutting to protect your hands.
- Remove seeds and strings before cooking the squash.
- Cut the squash in cubes or matchsticks for roasting or using in a recipe.
Each Winter squash presents different challenges. Here are some tips for each squash.
Cutting an Acorn Squash
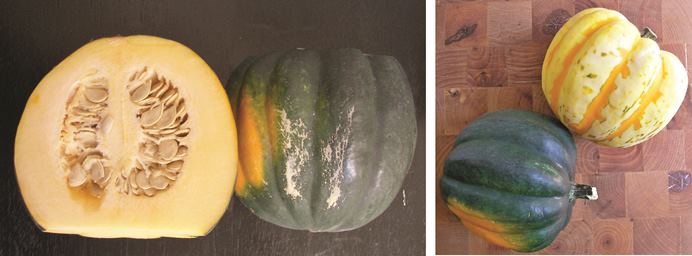
- Start by scrubbing the squash with a vegetable brush under warm water. Pat dry.
- Place a wet dish towel under your cutting board to prevent it from slipping.
- Position yourself in front of your cutting board and plant your weight evenly on both feet.
- Place the acorn squash in the middle of cutting board with the stem side facing away from you.
- Insert your knife tip into the top of the squash. Put a kitchen towel over the knife and work the knife through until you’ve cut straight through one half.
- Rotate the squash around 180° and repeat with the stem end.
- If necessary, you can finish by pulling the 2 sides apart with your hands.
Cutting a Spaghetti Squash
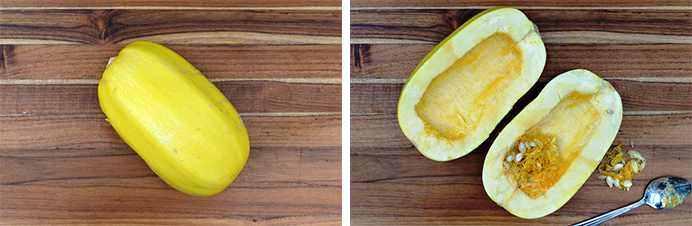
- Scrub the spaghetti squash with a vegetable brush under warm water. Pat dry.
- Place a wet dish towel under the cutting board to prevent it from slipping.
- Position yourself in front of your cutting board and plant your weight evenly on both feet.
- Insert your knife tip into the center of the top of the spaghetti squash.
- Cover the knife with a clean dish towel and work the knife through until you cut all the way through one end. You may need to tap the knife and squash on the cutting board to work the knife through the squash.
- Rotate the squash around 180° and repeat with the stem end.
Cutting a Butternut Squash
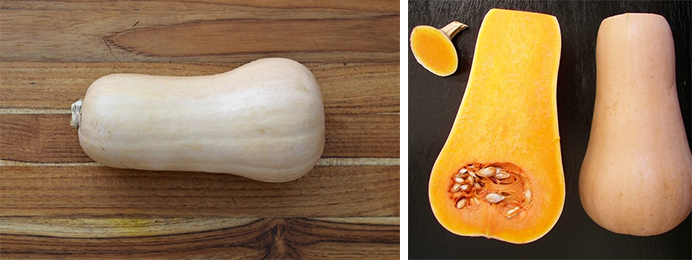
- Scrub the butternut squash with a vegetable brush under warm water. Pat dry.
- Place a wet dish towel under the cutting board to prevent it from slipping.
- Position yourself in front of your cutting board and plant your weight evenly on both feet.
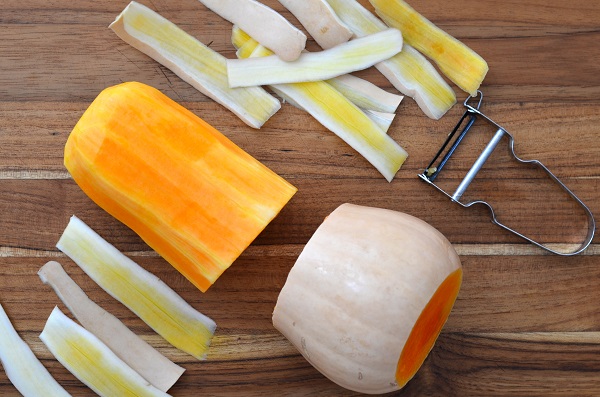
- Peel the squash using a sharp Y vegetable peeler.
- Cut off the bottom and top ends of the squash to create a flat surface.
- Stand the butternut squash upright vertically.
- Cut straight down through the center.
- If cutting a butternut squash into cubes, cut the hollow bowl part from the long, solid neck part. Remove the seeds and continue cutting it into pieces.
Spiralizing Butternut Squash
To spiralize butternut squash, you use the long neck part of the squash. Two medium butternut squash necks produce about 4 cups of spiralized butternut squash noodles which can serve 2 – 4 people. The hollow bulb part of the squash cannot be spiralized, so chop the bulb part into cubes to use in other recipes like this amazing Butternut Squash Bisque.
- Wash 2 medium butternut squash thoroughly with a vegetable brush under warm water. Pat dry.
- Cut off both ends of each squash and cut the bulb part of each squash from the long, solid neck part. Peel and chop the bulb part into cubes and save for another recipe.
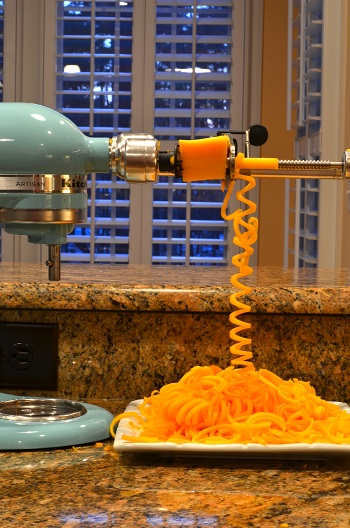
- Peel each long, solid neck part with a sharp peeler.
- Place each long neck part on your spiralizer. Spiralize into fine or medium noodles.
Roasted Spiralized Butternut Squash
Makes 4 Servings

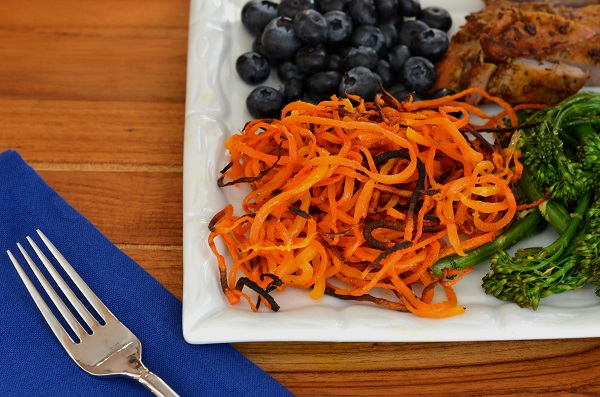
Butternut squash is pure comfort food for me!! I make it numerous ways but by far, my favorite preparation is spiralized and roasted. Spiralizing creates lots of surface area on vegetables lending itself to great caramelization when cooking and therefore tons of flavor and crunch. Yum!
For this recipe, you can buy pre-spiralized butternut squash or you can spiralize your own squash which can be a great cost savings (see steps above).
Ingredients
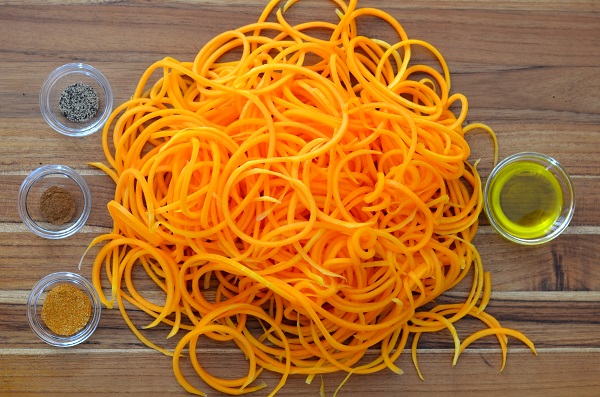
4 cups of spiralized butternut squash noodles
2 Tbsp extra virgin olive oil
¾ tsp homemade Lawry’s Seasoned Salt
⅛ – ¼ teaspoon cinnamon
¼ teaspoon black pepper
Directions
1. Preheat oven to 400°.
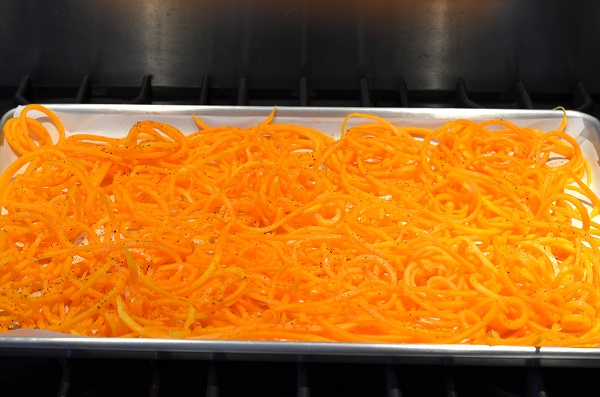
2. Place squash noodles onto a large non-coated baking sheet covered in parchment paper.
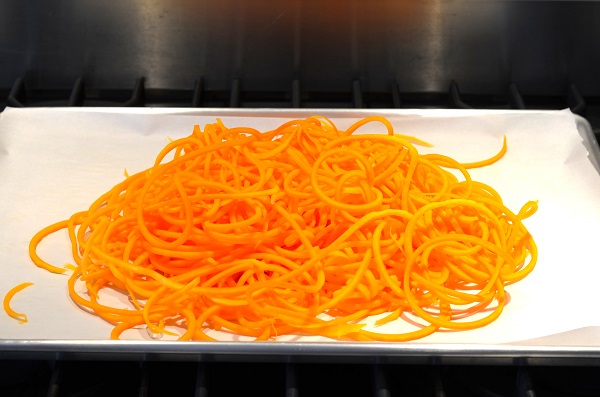
3. Drizzle olive oil over noodles and toss until all noodles are thoroughly coated.
4. Spread noodles out into a thin layer.
5. Sprinkle evenly with seasoned salt, cinnamon and black pepper.
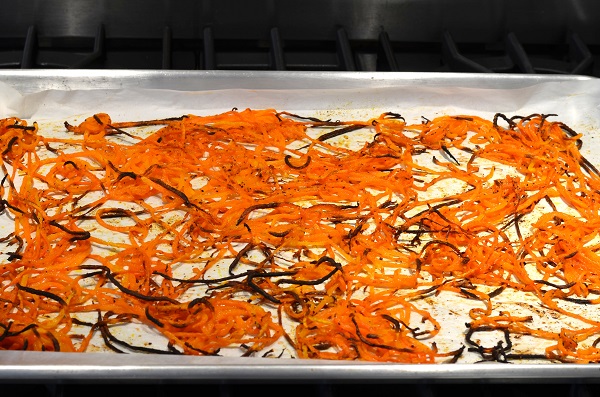
6. Roast at 400° for 20 minutes.
7. Remove pan from oven and rearrange noodles moving darkened outer noodles to the center of pan and vice versa to help them cook evenly.
8. Return pan to the oven and cook for about 20 – 25 more minutes checking them often until most of the noodles are browning on the outside and tender inside.
9. You may have to rearrange the noodles several times during the cooking process to prevent some from overcooking and others undercooking.
10. Serve immediately.
Need more Winter Squash recipes? Here are some of our favorites from previous blogs:
- Spaghetti Squash Lasagna Pie
- Spaghetti Squash and Sausage Boats
- Sausage and Apple Stuffed Acorn Squash
- Butternut Squash Bisque
- Butternut Squash Fries
- Roasted Butternut Squash and Sausage Frittata
- Roasted Butternut Squash and Pears
- Roasted Honeynut Squash Kale Sauté
- Roasted Butternut Squash and Hummus Pizza