
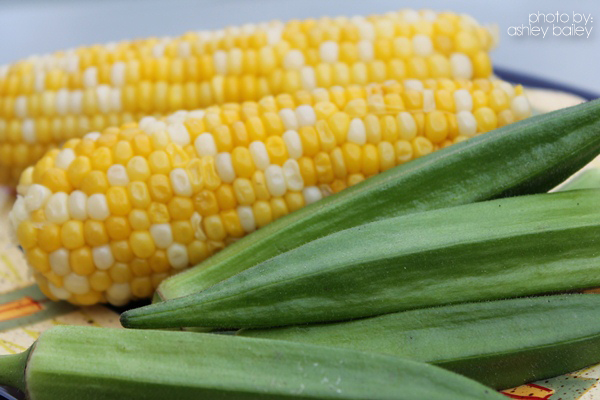
Another summer has almost come and gone and fall is on its way bringing cooler temperatures, lower humidity, and colorful leaves. However, just because fall is knocking on our door doesn’t mean we have to stop enjoying our favorite summer produce.
If you’re a home gardener or a frequent flyer at local farmer’s markets, you’re probably trying to figure out what to do with all your end-of-summer produce before it goes bad. Or if you’re like many of us, you’ve run out of recipe ideas and feel like you might scream if you have grilled zucchini and squash or a BLT one more time.
Fresh from Your Freezer
You can easily enjoy the fresh-picked flavors of summer year round with a quick trip to your freezer. As soon as produce is picked, it starts to lose nutrients. By freezing fresh-picked produce when it’s in season, you not only preserve its nutrients but you also lock in the great flavors. Store produce in containers that are moisture and vapor resistant, durable, and leak-proof such as freezer bags, glass canning jars, or freezer containers. Although most produce can safely be stored in the freezer almost indefinitely, try to consume frozen produce within 8-12 months for best quality.
How to Freeze Vegetables
Most vegetables freeze well, with the exception of lettuce, tomatoes, cucumbers, and green onions. To properly freeze vegetables, start by blanching. Blanching is a process that "slows or stops the action of enzymes that can cause loss of flavor, color and texture." It also brightens the colors of vegetables and helps retain vitamins. Timing is extremely important in blanching and varies depending on the type and size of vegetable. Click here to see blanching time for various vegetables.
To blanch:
- Bring water to a rolling boil. Use 1 gallon of water for every pound of vegetables.
- Add vegetables to boiling water.
- Start counting blanching time as soon as the water returns to a boil.
- As soon as blanching is complete, transfer vegetables to a large bowl of ice water to quickly cool. This stops the cooking process and helps retain the colors of the vegetables.
- Once cooled, drain vegetables well and pat completely dry. Extra moisture can decrease quality of the frozen product.
Once your vegetables are completely dry, they’re ready to be packaged and stored in the freezer. Be sure to label all packages with the name of the vegetable and the freezing date.
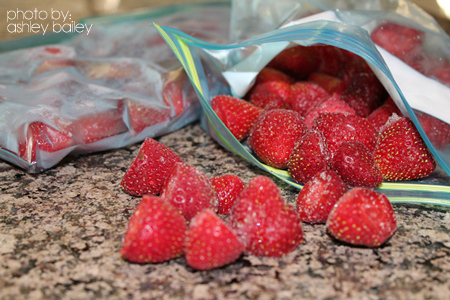 How to Freeze Fruit
When choosing fruit to freeze, opt for fruit that is ripe (but not overly ripe and mushy) and free of bruises. Be sure to not let fruit soak in water when washing- nutrients and flavor can be lost! When preparing fruit, think about how you plan to serve it- pitted, stemmed, peeled and/or sliced – and work with small quantities. You may need to dip fruit like apples, peaches or pears that darken easily when cut into a mixture of lemon juice and water before freezing to stop the browning process. Blanching or par-cooking is not necessary with most fruit.
To prevent having a large mass of frozen fruit that’s impossible to work with later:
- Pat washed fruit completely dry.
- Arrange pieces in a single layer on a tray or baking sheet.
- Place tray in freezer for 1-2 hours or until frozen.
- Immediately transfer to freezer safe containers to prevent freezer burn.
Using Fresh-Frozen Produce
When you’re ready to enjoy your fresh-frozen produce, cook vegetables straight from the freezer; thawing isn’t necessary. Fruits are usually best when thawed in the refrigerator for a few hours. Try eating fruit while it’s still slightly frozen; it’ll be less mushy!
Try the following recipes for a new twist on summer standbys.
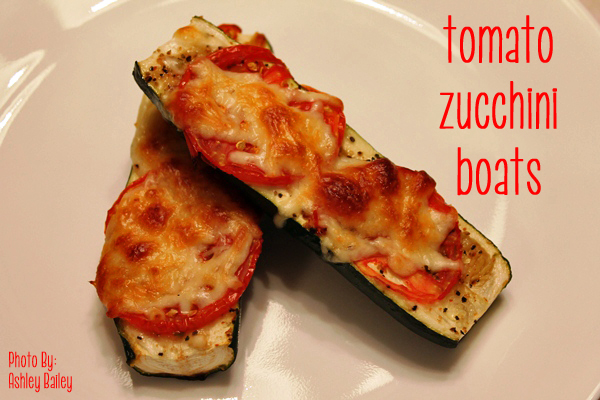
Tomato Zucchini Boats
Makes 4 Servings
Ingredients
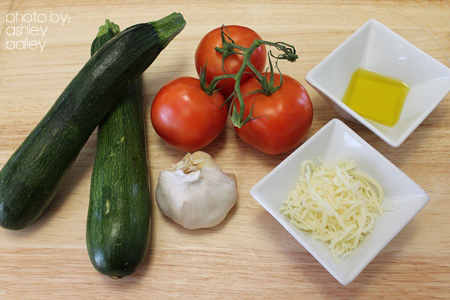
2 medium zucchini
1 Tbsp extra virgin olive oil
2 cloves garlic, minced
Salt and pepper, to taste
1 tomato, sliced thinly OR 3-4 grape or cherry tomatoes
¼ cup part-skim mozzarella cheese, shredded
Directions
- Preheat oven to 350° F. Spray baking dish with non-stick cooking spray or line with aluminum foil. Bring a large pot of water to a boil.
- Wash zucchini well and cut off ends. Cut zucchini in half, lengthwise. You may need to cut part of the bottoms off if they roll around.
- Scoop out a shallow well in the center of each zucchini half, removing the seeds.
- Place zucchini in boiling water and let boil for 1 minute. Remove from water and drain well.
- Arrange zucchini halves in a single layer in a baking dish.
- Combine olive oil, garlic, salt and pepper. Brush over zucchini.
- Top each zucchini half with 1-2 tomato slices.
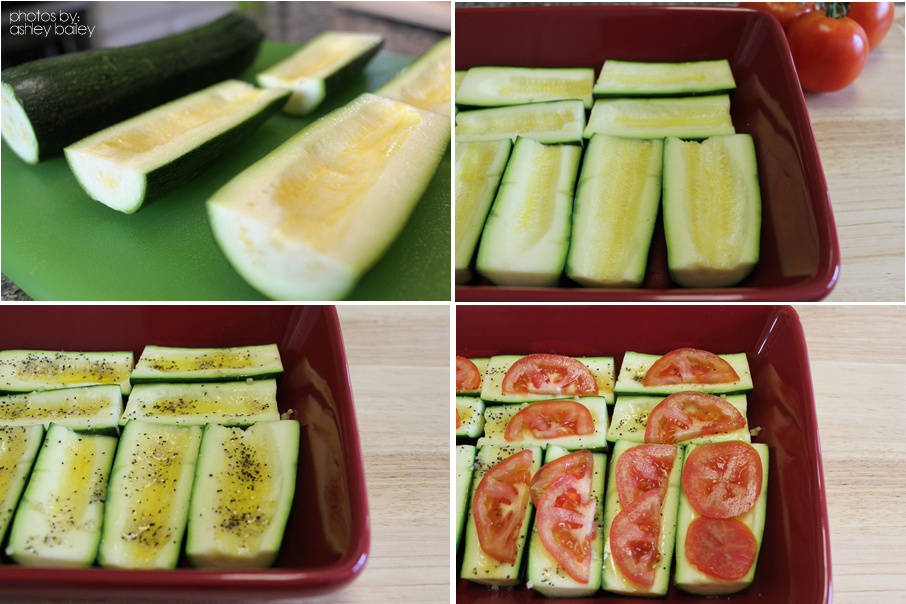
- Bake for 30-35 minutes, or until zucchini is soft. Add mozzarella cheese and return to oven. Let bake until cheese is melted and starting to brown.
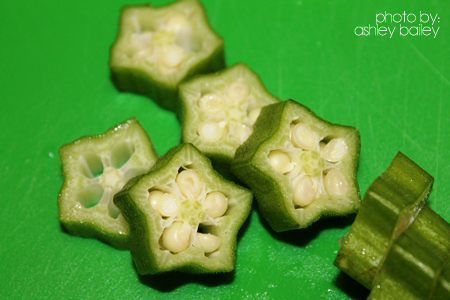
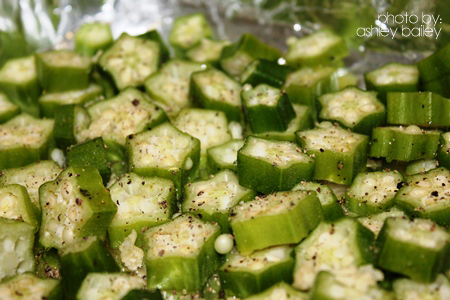
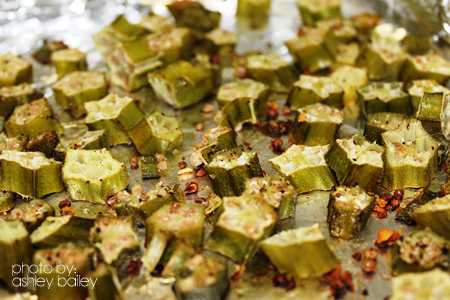
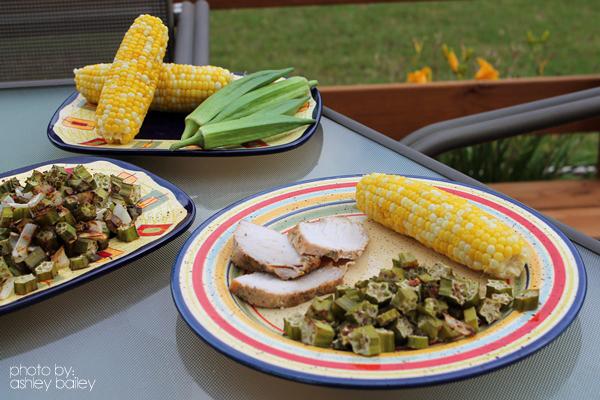
Roasted Okra
Ingredients
1 pound fresh or frozen okra
1 Tbsp extra virgin olive oil
1 tsp garlic powder
Salt and pepper, to taste
Directions
1. Preheat oven to 400° F. Wash okra and cut into small rounds.
2. Toss cut okra with olive oil, garlic, salt and pepper until well coated.
3. Place okra in a single layer onto a foil-lined baking sheet.
4. Bake for 30-40 minutes or until okra starts to brown on the edges and become crispy. If using frozen okra, lengthen the cooking time.
Click here for a printer-friendly version of these recipes.
Source: University of Georgia Cooperative Extension Service, "Preserving Food: Freezing Vegetables."