Nut butters are a secret weapon for making fruits, raw veggies and oatmeal more satisfying. If you’ve branched out beyond peanut butter, you know store-bought nut and seed butters can get expensive and often contain added sugar and oils, so why not make your own? If you have some nuts, a sheet pan, and food processor or high-powered blender, you already have everything you need!
WHY HOMEMADE?
Ounce for ounce, homemade seed and nut butters are generally more cost-efficient than buying store-bought. For example, organic cashews cost about $0.55-$.70 per ounce in the U.S., while store-bought organic cashew butter costs about $0.90-0.95 per ounce. If buying organic isn’t a priority for you, making your own still pays off. Regular cashews are closer to $0.50 per ounce, and a store-brand non-organic cashew butter I found was $0.56 per ounce, and it had unnecessary added oils. Full disclosure: You can find regular peanut butter with extra sugar and/or preservatives for cheaper than you can make your own, but who wants those additives?
Aside from the cost, customizing your homemade nut butter tastes better, and the process is just plain fun. Making your own gives you the opportunity to choose different combinations of nuts and add seeds to further boost the nutrition content. Every nut and seed has its own nutritional profile, so add a variety to cover all your bases. From cinnamon to cayenne pepper, there are endless possibilities of flavors you can add to excite your palate. In a nutshell, you’ll get a better quality, more delicious product for a better price.
Why make your own nut or seed butter? In a nutshell it’s simple, affordable and delicious! Click To TweetIT’S AS EASY AS 1-2-3.
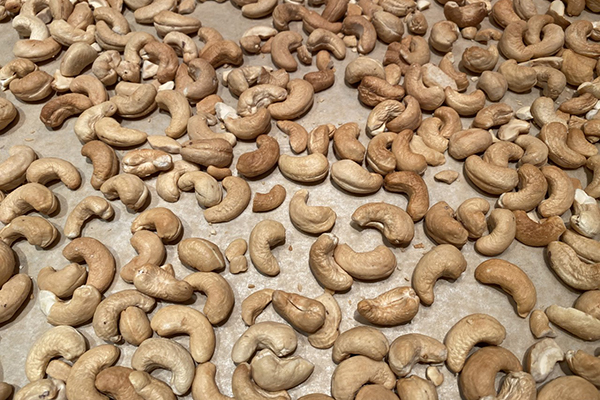
Gather 2-3 cups of your favorite raw nuts and seeds and…
1. Roast.
This brings out the flavor of nuts and seeds and helps them release their oils for easier blending.
- Option 1: On a sheet pan in an oven preheated to 350°F for 8-12 minutes, stirring every 3-5 minutes.
- Option 2: In an air fryer preheated to 325°F for 6-10 minutes, tossing every 3-5 minutes.
Note: If you are roasting seeds, cut cooking time by at least half depending on size of seeds.
You’ll know they’re done when the nuts/seeds have browned but not burned and the aroma reminds you of New York City street nuts in the winter (just me?). Let them cool for at least 10 minutes before step 2.
2. Blend.
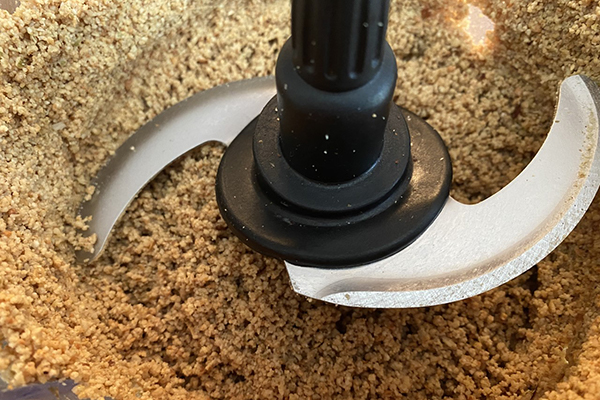
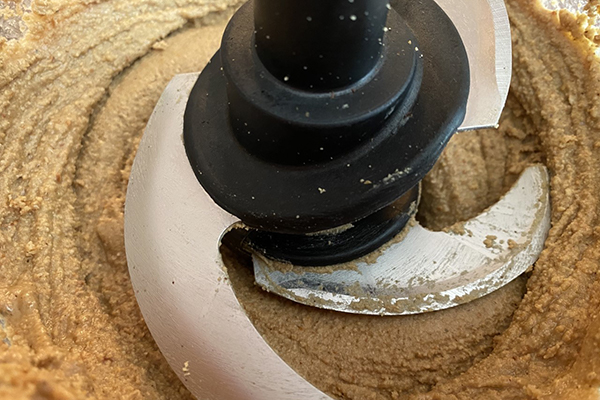
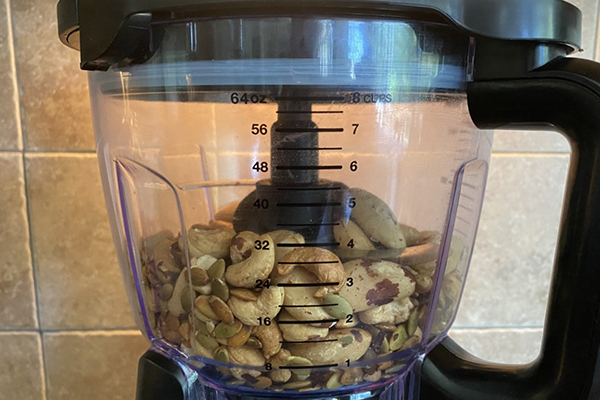
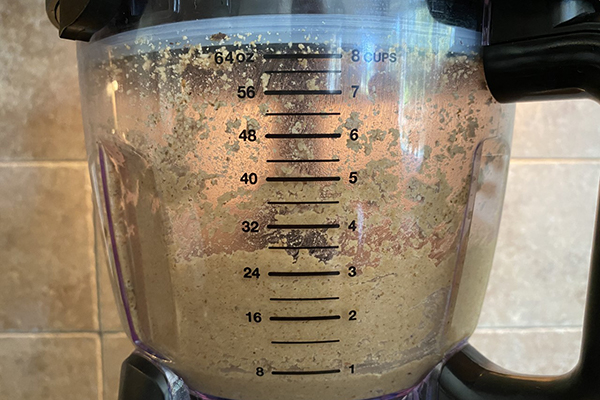
Add cooled nuts and seeds to your food processor or blender, and turn it on high. You can add flavorings at this stage too or wait until the end. The blending process can take anywhere from 5-20 minutes depending on the power of your food processor or blender, and you should take a break every 1-2 minutes or so to scrape the sides and avoid overheating your appliance.
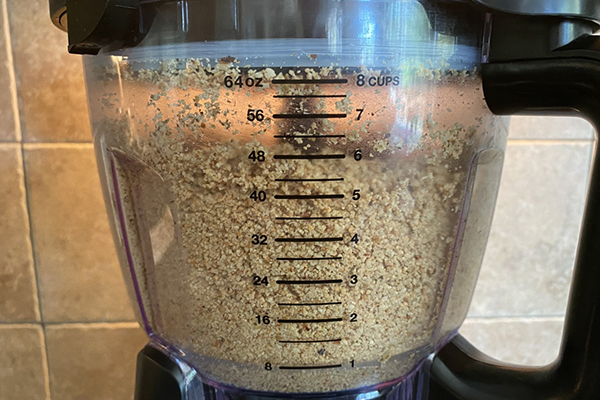
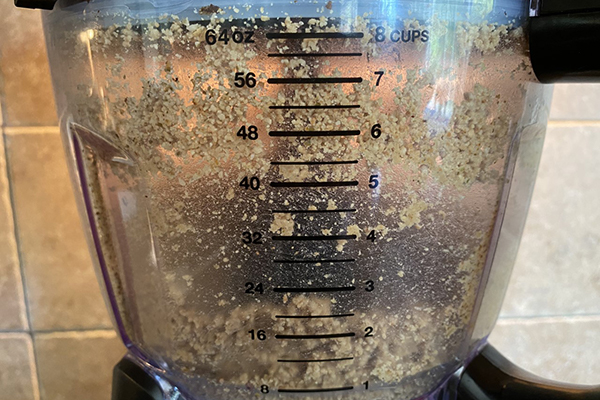
You’ll notice the nut butter going through stages from powdery/grainy to crumbly to pasty to creamy. Fear not…your patience will be rewarded with a smooth and amazing treat!
Note: I’ve used both a high powered blender and a food processor, and both work just fine. I prefer the food processor as I found it was quicker (5-6 minutes vs. 15 minutes) and I didn’t have to scrape the sides nearly as much.
3. Add extras and pulse (optional).
Plain nut butter is perfect on its own, but add-ins can really amp up your nut butter game! Cinnamon, vanilla, cardamom and/or cocoa powder are perfect pairings for those who prefer a sweeter taste profile. Spices like cumin and cayenne can add a more adventurous element. And cacao nibs, chia seeds, pumpkin seeds and sunflower seeds can add extra crunch and a nutritional boost. Add the combination that suits your fancy, and pulse a few more times to mix them in.
NOW WHAT?
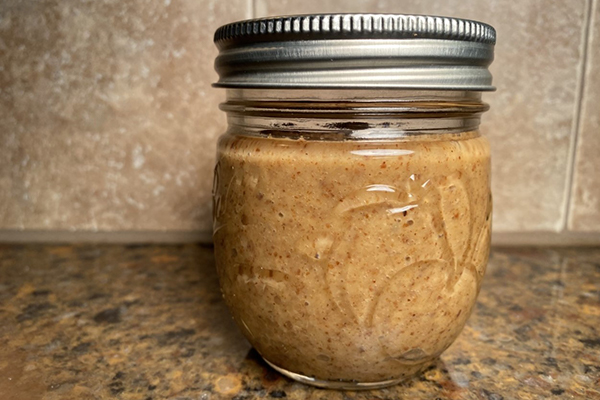
Try not to spoil your appetite as you are transferring your pot of gold to a storage container. The nut butter will be delightfully warm at this point and this tempting process brings back memories of “cleaning up” the brownie batter from a mixing bowl. When all is said and done, you’ll have just over 1 cup of nut/seed butter for every 2 cups of nuts/seeds blended.
Store in a glass jar in the fridge for up to a month. Use your nut and seed butter the same way you’d use peanut butter — in oatmeal, in a smoothie, on toast, on raw veggies (celery, cucumber slices, carrots) or on fruit. Here are some recipes for a little inspiration: Apple and Peanut Butter Sandwiches, Peanut Butter Banana Muffins, Sweet Potato Pie Smoothie, Nutty Cherry Chocolate Nice Cream.
Below are a few flavor combinations to get you started, but be bold in experimenting with different ingredients, and share your creations in the comments below! When blending, you’ll notice the nut butter going through stages from powdery/grainy to crumbly to pasty to creamy. Hang in there…it will work!
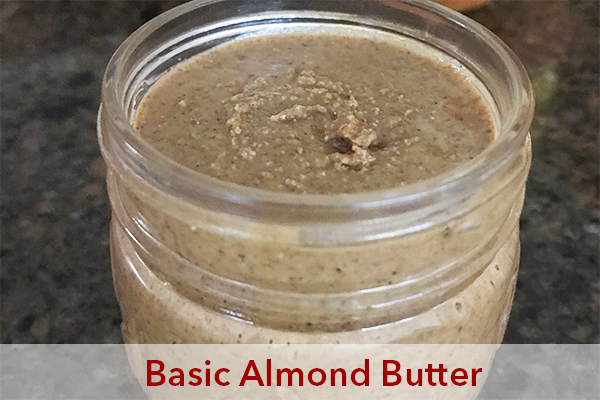
Basic Almond Butter
Recipe Adapted from Cookie and Kate
Makes 1¾ cup (28 Tbsp)
PRINT RECIPE
Ingredients
16 oz (3 cups) raw almonds
Salt to taste (optional)
Directions
- Preheat oven to 350°F or air fryer to 325°F.
- If using the oven, spread almonds on a large baking sheet and toast for about 10 minutes, stirring halfway. If using the air fryer, toast almonds for about 6 minutes, tossing halfway. Nuts will be fragrant when done.
- Let almonds cool for about 10 minutes.
- Transfer almonds to food processor or blender. Blend on high speed until creamy, pausing to scrape sides every 1-2 minutes.
- Taste and add ½ tsp salt, or to taste, if desired. Pulse to mix.
- Store in a glass jar in the refrigerator for up to a month.
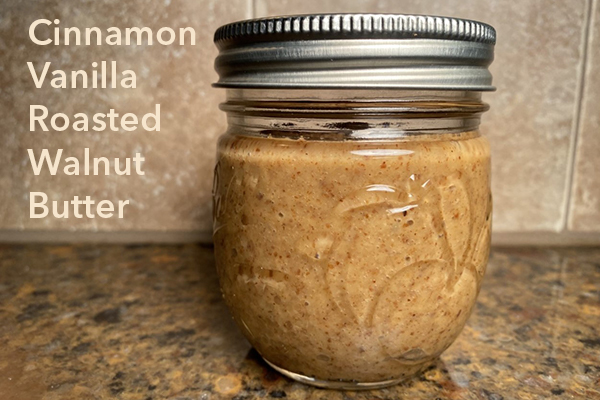
Cinnamon Vanilla Roasted Walnut Butter
Recipe Adapted From Snappy Gourmet
Makes 1 ¾ cup (28 Tbsp)
PRINT RECIPE
Ingredients
16 oz raw walnuts
1 tsp vanilla extract
½ tsp cinnamon
Directions
- Preheat oven to 350°F or air fryer to 325°F.
- If using the oven, spread walnuts on a large baking sheet and toast for 8-12 minutes, stirring every 3-5 minutes. If using the air fryer, toast walnuts for 6-8 minutes, tossing every 2-3 minutes. Nuts will be fragrant and lightly browned when done.
- Let walnuts cool for about 10 minutes.
- Transfer walnuts, vanilla and cinnamon to food processor or blender. Blend on high speed until creamy, pausing to scrape sides every 1-2 minutes.
- Store in a glass jar in the refrigerator for up to a month.
Pumpkin Spice Cashew Butter
Recipe adapted from Cotter Crunch
Makes 1 ⅙ cup
PRINT RECIPE
Ingredients
2 cups raw cashews
1-2 tsp pumpkin spice
Directions
- Preheat oven to 350°F or air fryer to 325°F.
- If using the oven, spread cashews on a large baking sheet and toast for 10-12 minutes, stirring every 3-5 minutes. If using the air fryer, toast cashews for 8 minutes, tossing every 2-3 minutes. Nuts will be fragrant and lightly browned when done.
- Let cashews cool for about 10 minutes.
- Transfer cashews and pumpkin spice to food processor or blender. Blend on high speed until creamy, pausing to scrape sides every 1-2 minutes.
- Store in a glass jar in the refrigerator for up to a month.
Mixed Nut & Seed Butter with Cacao Nibs
Makes 1 ¾ cup (28 Tbsp)
PRINT RECIPE
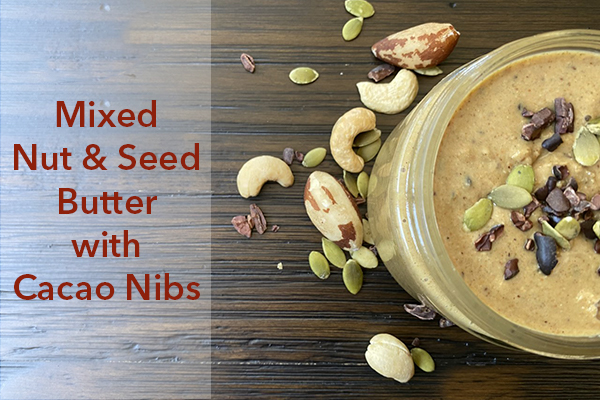
Packed with magnesium, selenium, zinc and flavonoids, this nut and seed butter is a nutritional powerhouse!
Ingredients
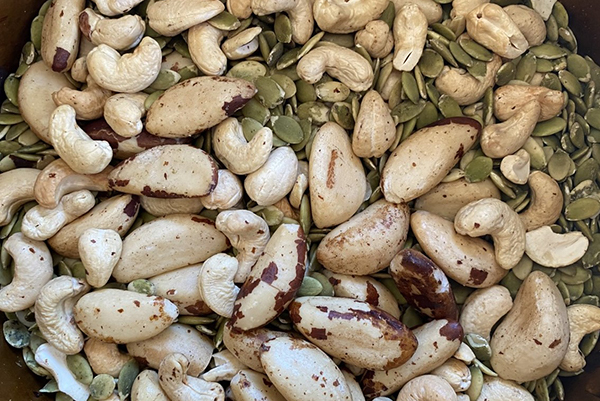
1 cup raw Brazil nuts
1 cup raw cashews
1 cup raw pumpkin seeds
2 Tbsp cacao nibs
Directions
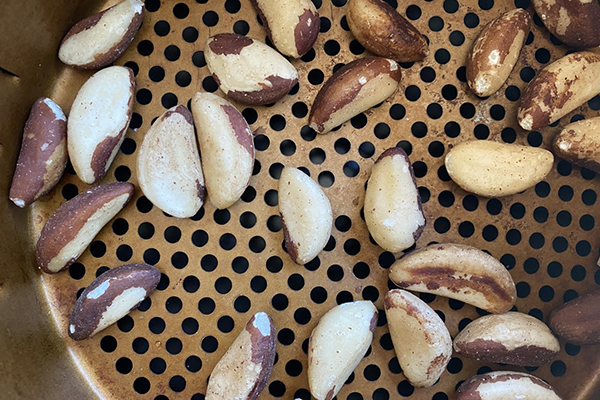
1. Preheat air fryer to 325°F. Add Brazil nuts to air fryer basket and cook for 5 minutes.
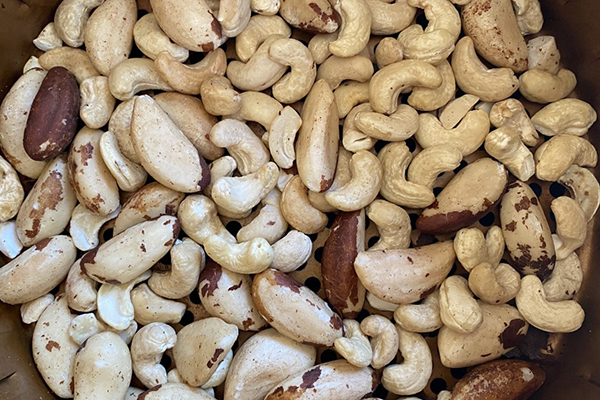
2. After 5 minutes, toss Brazil nuts and add cashews.
3. After another 5 minutes, toss nuts and add pumpkin seeds.
4. Remove from air fryer after 2-3 more minutes and let cool for at least 10 minutes.
5. Place cooled nuts into food processor or blender. Process until nut butter reaches desired consistency. Stop every 1-2 minutes to scrape down sides.
6. After 2 minutes – Dry and powdery. Scrape sides.
7. After 4 minutes – Clumpy. Starting to get a bit pasty. Scrape sides.
8. After 6 minutes – Done & ready for add-ins.
9. Add 2 Tbsp cacao nibs and pulse or blend on medium for 20-30 seconds.
10. Store in a glass jar in the refrigerator for up to a month.
Note: If you are roasting the nuts and seeds in the oven, preheat oven to 350°F, then roast Brazil nuts for 2-3 minutes, stir and add cashews for another 6-8 minutes, then stir and add pumpkin seeds for 1-3 minutes.

