Mixing vegetables into a meal you already love is one trick that helps non-veggie lovers increase their vegetable intake. Including sprouts is another non-intimidating way to sneak in more of the benefits of veggies. Why you ask? Research estimates that broccoli and cauliflower sprouts contain 10-100 times more cancer-fighting glucoraphanin than the mature cruciferous vegetables translating to a better bang for your buck from the baby versions of these plants…a huge win for the veggie averse!
Different varieties of sprouts can be tricky to find and are not always the most budget friendly, so why not grow your own? If you have a minute to spare 2-3 times a day and a small corner of counter or cabinet space, you’re already halfway to making your own inexpensive and nutritious sprouts. All it takes is 3 minutes total per day for 4-10 days to grow these nutritious little wonders.
DIY sprouts for your health, budget and family fun. #saslife Share on XWhy Sprout at Home
Family Fun
Give the kids a project or give yourself something easy to nurture. Growing sprouts is an easy and entertaining way to enjoy living plants that you can eat any time of year without the time and space-commitment of a garden.
Save Money
You can find organic sprouting seeds online for $20-$30 per pound (about 3 cups or 48 Tbsp worth). Two tablespoons of broccoli seeds will sprout to fill up a 32 oz mason jar about 80% full, a little over 3 cups worth of sprouts. All-in-all, it works out to less than $0.50 per cup of sprouts.
I have yet to see broccoli sprouts at the grocery store, but as a comparison, broccoli microgreens, a slightly more mature version of sprouts, typically sell for $2-3 per cup and alfalfa, radish and clover sprouts sell for about $1 per cup, with mung bean sprouts slightly cheaper. It’s safe to say that you can grow many varieties of organic sprouts yourself for about half the cost (or less) of purchasing them.
Better For You, Better for the Planet
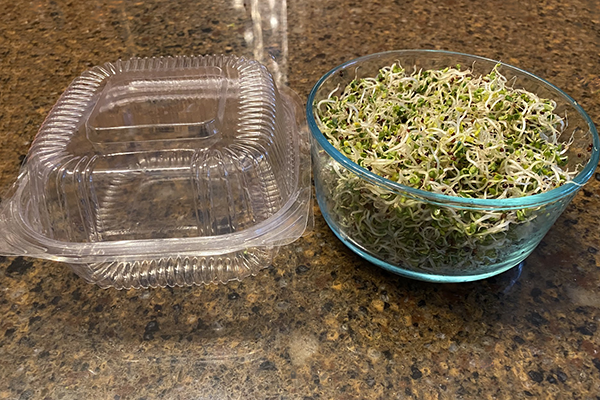
Prefer to keep things clean with organic options? Organic sprouts can sometimes be difficult to find in stores, but you can easily find a variety of organic sprouting seeds to purchase. A one-pound bag of small sprouting seeds will make about 24 three-cup batches of sprouts, so growing them at home results in a lot less waste than buying sprouts regularly in single-use plastic containers.
Getting Started
All you really need to start sprouting is a jar, cheesecloth and rubber band to go on top, a bowl or other container to lean the jar in for draining, and your seeds of choice. For my first sprouting experiment, I used dried lentils that I pulled right out of my pantry, and they worked great, but you can also buy a variety of seeds specifically for sprouting online.
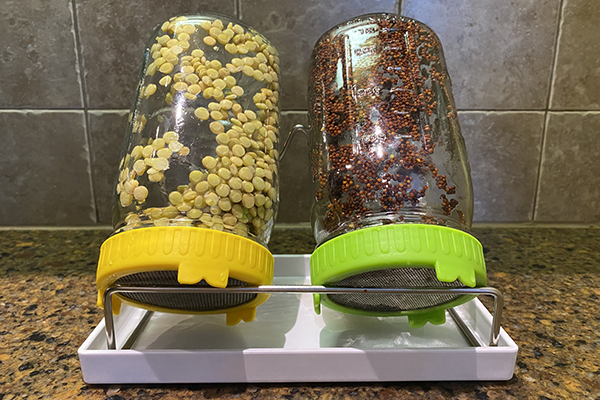
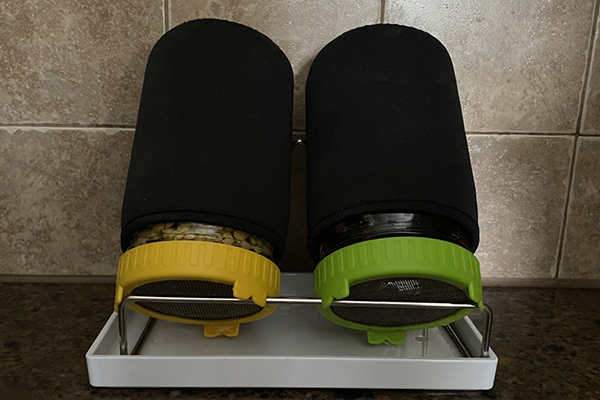
If you’d rather press the easy button on setup, purchase a seed sprouting kit. You can find kits online and in many grocery stores. Kits come with jars, screen lids, sleeves to keep your seeds dark, a metal stand and tray to allow your sprout water to drain.
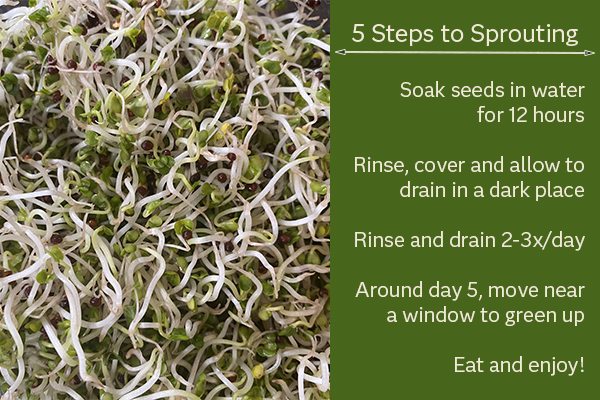
5 Simple Steps
The example below is for broccoli sprouts, but you can apply the same steps to other seeds as well, though the days to reach sprout maturity may vary, and mung beans require an extra rinse each day. Click here to print this step-by-step guide to sprouting.
Step 1: Add cool or room temperature filtered water and 2 Tbsp broccoli seeds to a wide-mouth jar and allow it to sit for 6-12 hours.
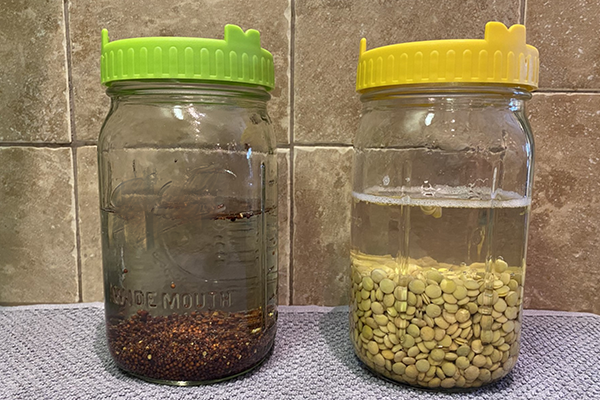
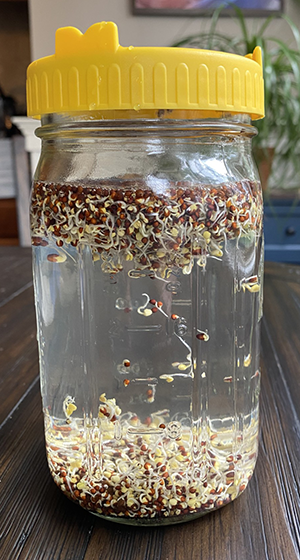
Step 2: After 6-12 hours, rinse with cool or room temperature water, cover with a screen lid or cheese cloth, and place jar tilted upside down, draining into a tray or other container in the dark. You can use a jar sleeve, cover with a cardboard box, or put your setup in a cabinet or closet.
Step 3: On days 2-4, repeat step 2, rinsing 2-3 times per day.
Step 4: On days 5-7, continue to rinse and drain 2-3 times per day. Around day 5, move the jar near a window with indirect light to stimulate chlorophyll production. The light is not critical, but the darker green sprouts look vibrant and contain a few more phytonutrients.

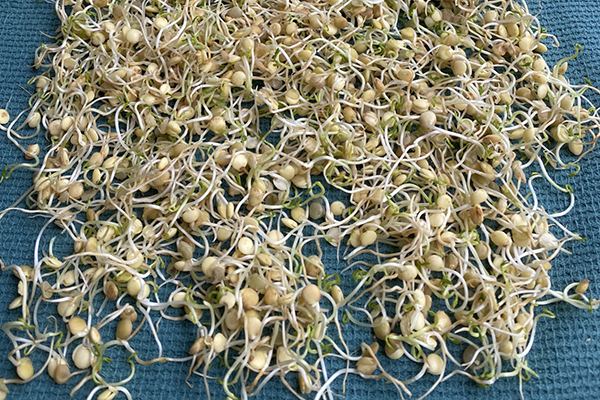
Step 5: On day 8, rinse the sprouts a final time. Lay them on a clean dish towel to soak up extra water before using them. Store them in the refrigerator, and ideally use within 4 days.
Follow the same steps for lentils, but add about ⅓ cup lentils initially, to better fill a large mason jar. Lentil sprouts should be ready for a day in the light by day 4-5 and harvesting around day 6.
Sprouting Safety
Your harvest should be perfectly safe as long as you:
- Have good quality seeds
- Use clean hands and equipment
- Don’t go more than 12 hours between rinses (though 8-10 hours between rinses is ideal when sprouts start getting long and tangled)
- Properly drain sprouts.
And your sprouts should always smell fresh! Be aware that some sprouts grow tiny, edible root hairs off the main root that some people mistake for moldy fuzz. When in doubt, your nose knows. If something smells off, it’s best to toss it. If you have a compromised immune system, use caution and be extra careful when growing your own food.
My sprouts are ready. Now what?
You can incorporate sprouts into meals the same way you would microgreens. Check out the ideas at the end of this blog or use them as a main ingredient in a homemade pesto like the one below.
Broccoli Sprout Pesto
Makes 1 cup
Recipe adapted from: Flavor RD
PRINT RECIPE

Ingredients
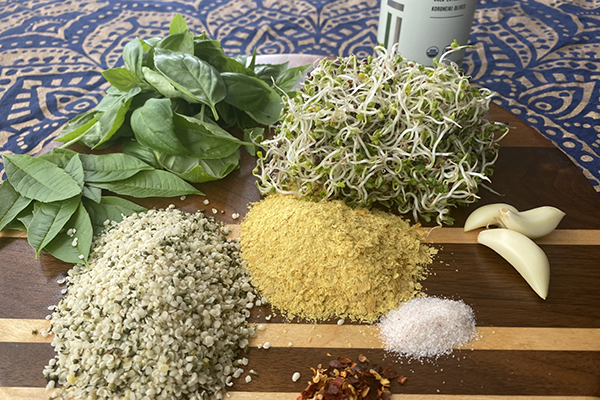
3 medium cloves garlic, peeled
2 cups fresh broccoli sprouts
1 ½ cups fresh basil leaves
½ cup lemon verbena leaves (optional for a lemony flavor)
¼ cup hemp seeds
2 Tbsp nutritional yeast
½ tsp salt
¼ tsp dried red pepper flakes (optional)
¼ - ⅓ cup olive oil
Instructions
- In a food processor, add the garlic cloves and pulse until minced.
- Add the broccoli sprouts and pulse again until chopped well.
- Add all other dry ingredients and pulse until they are partially chopped. Scrape sides as needed.
- Then drizzle in the olive oil and blend until smooth. Thin with water as needed until desired consistency is reached.
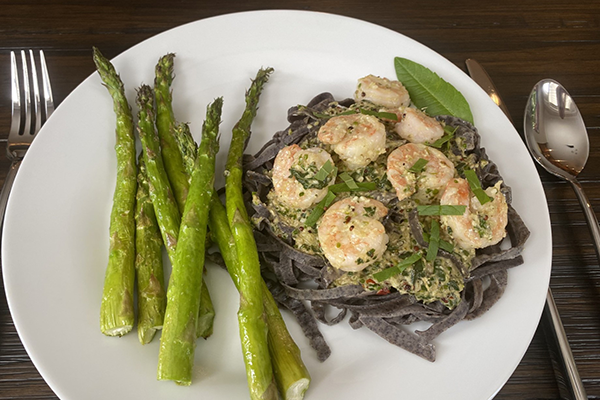
- Serve on top of seafood, poultry, pork, lamb or beef, or use as a dressing for whole grains, pasta, bean salad, roasted vegetables or roasted potatoes.
- Store leftover pesto in the refrigerator and use within 4 days or freeze for longer storage.

1 Comment
This article was extremely interesting!