I’ve worked on many different types of systems, platforms, operating systems, and hardware over the years. For software development, one aspect that has remained fairly consistent is the use of Git. Knowing some of the basic, no-nonsense approaches of working with Git has proven extremely valuable, as these approaches tend to work everywhere. To that end, we'll walk through some initial setup for working with Git and Git repositories like GitHub – specifically, how to use SSH keys. SSH is often considered more secure, but the main reason I prefer it is that it’s more reliable and easier to use across various platforms and networks, whether on-premises or in the cloud. One major benefit I've found is not having to log in through a web interface every time you interact with a repository. Web logins can be frustrating if they don’t persist between sessions. Once SSH keys are set up, they will remain active until you remove them.
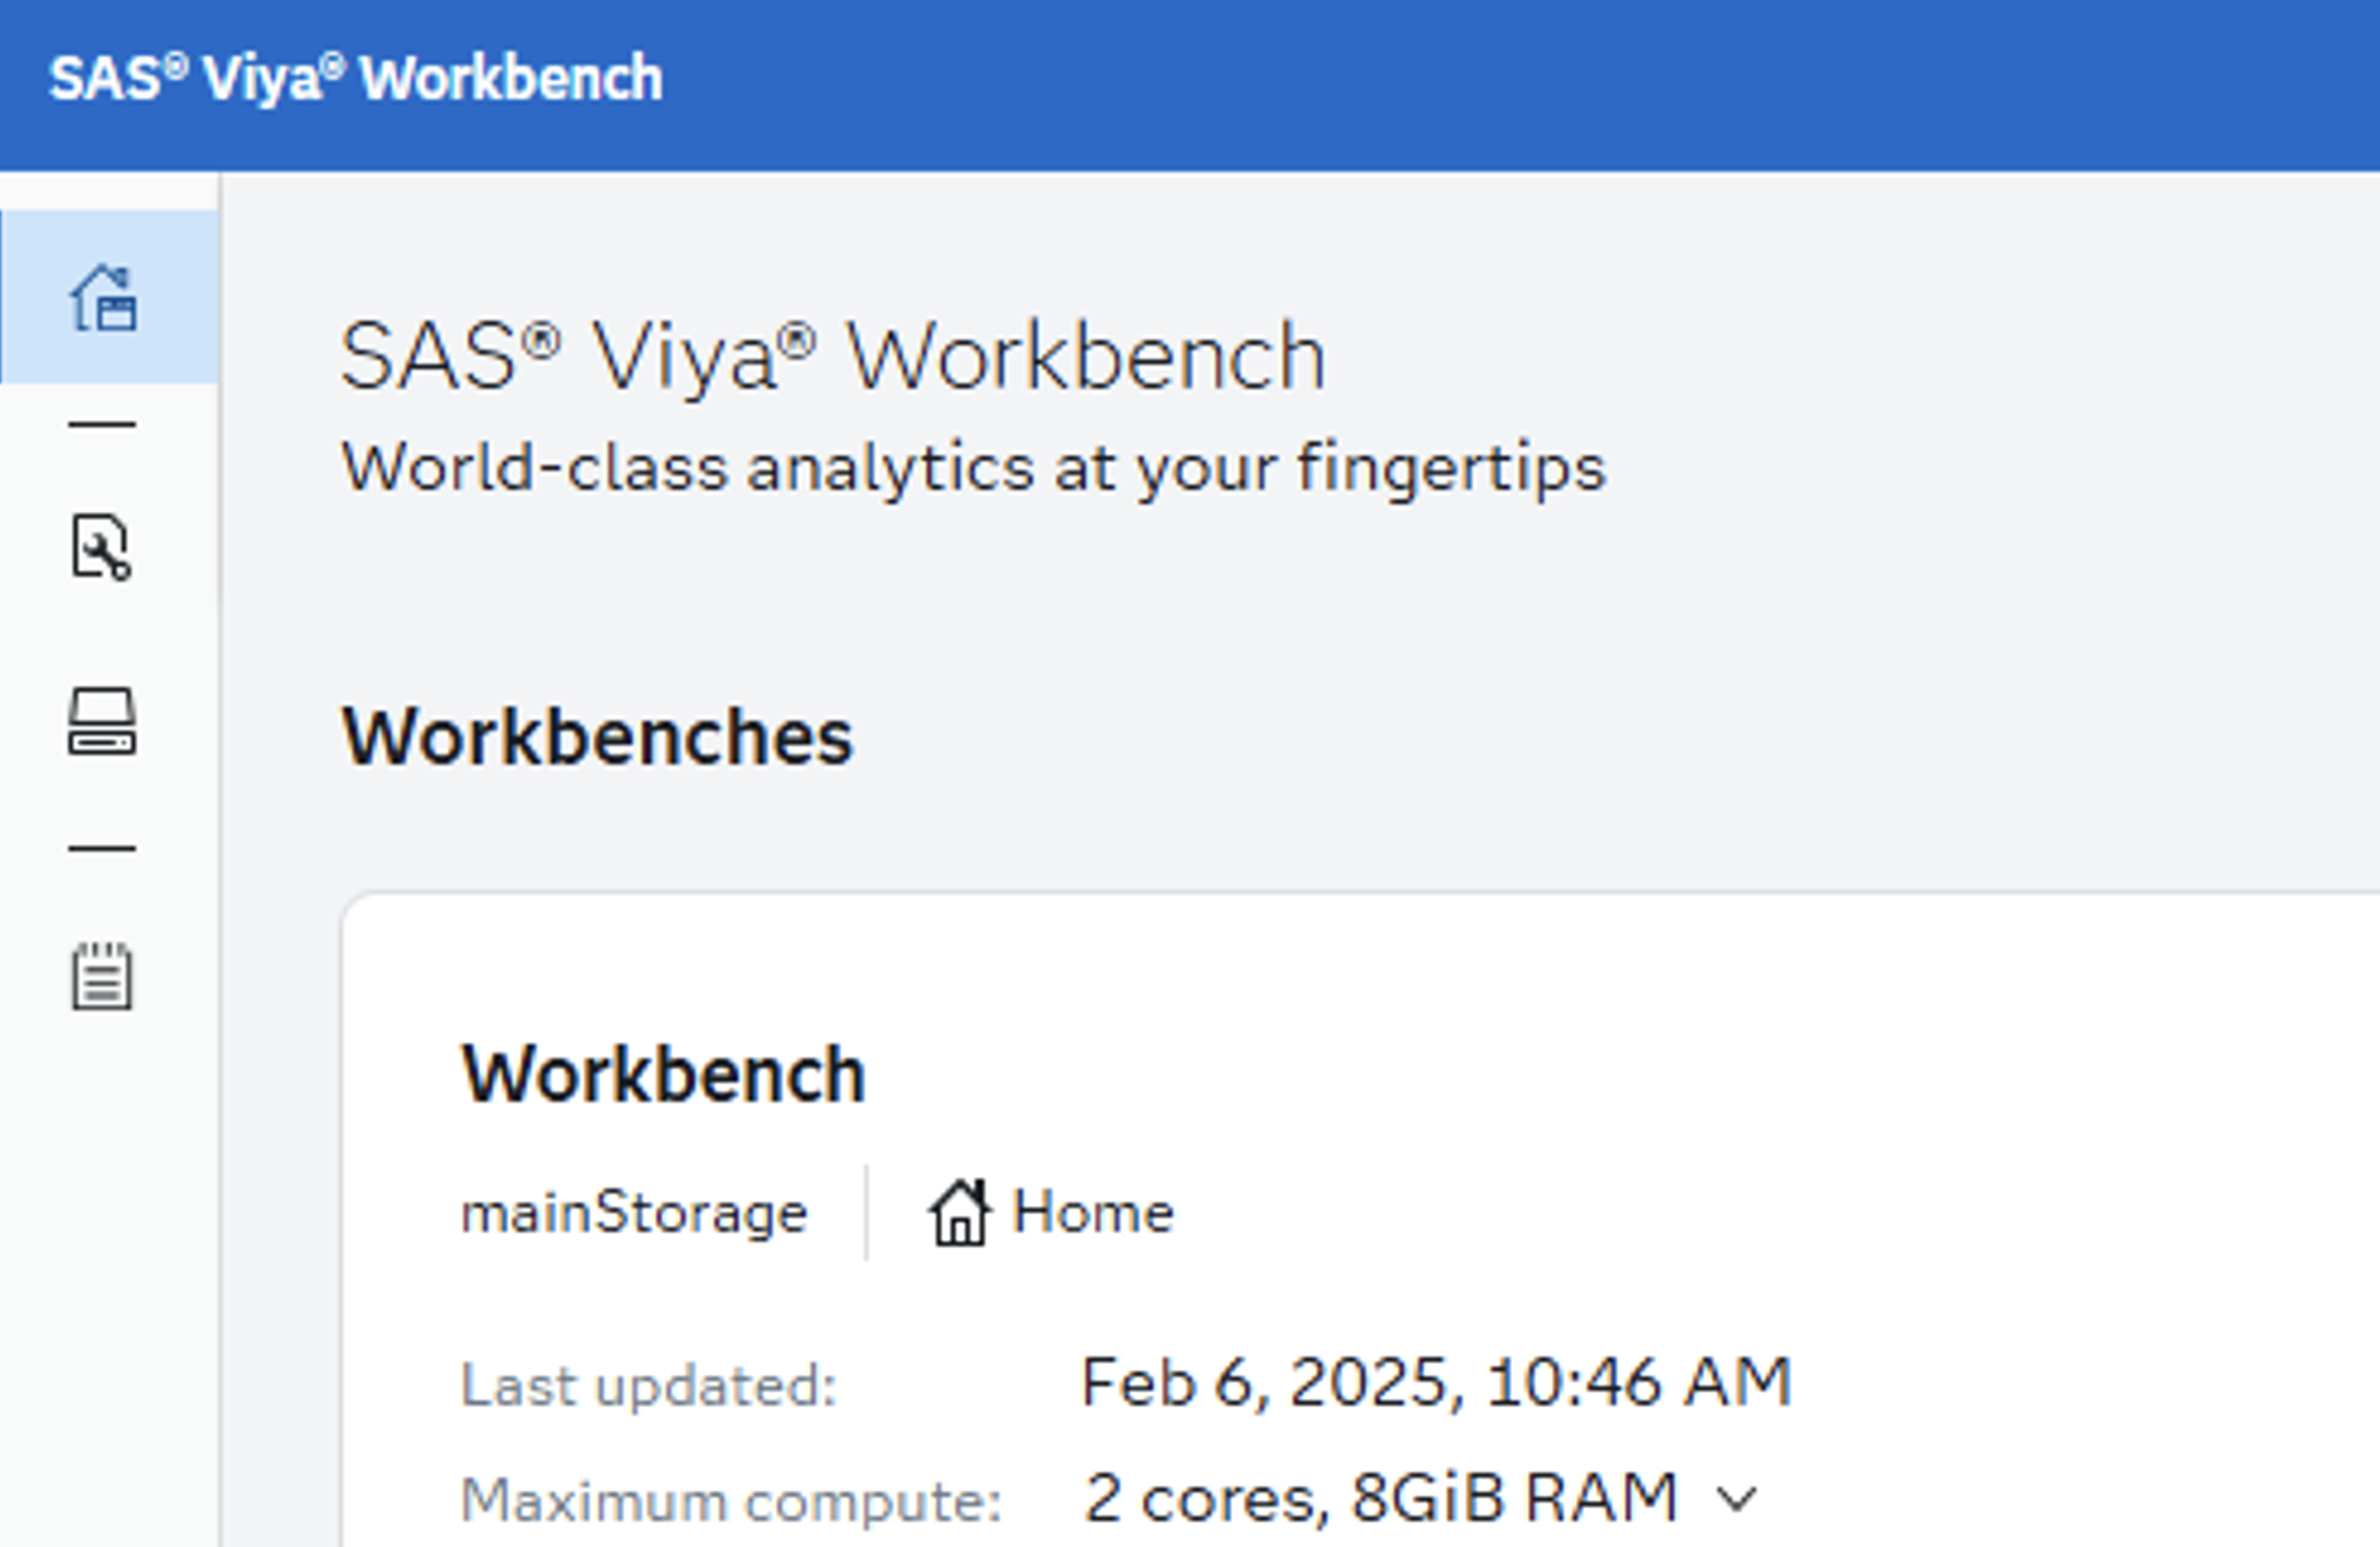
In my example, I’ll be using GitHub for my repositories and SAS Viya Workbench with the VS Code interface for my development platform. I really like SAS Viya Workbench for development work across Python and SAS. As a cloud development platform, it allows us to explore the intricacies and common pitfalls of cloud infrastructure, which differ from traditional 'bare metal' systems. This helps illustrate what’s going on behind the scenes a bit and might help you get up and going faster in whatever cloud development platform you happen to be using.
Before we dive in, let me put on my nerd hat. I know UIs are a big focus these days, and I’m about to sound like a crusty old graybeard, but hear me out! Learning command-line tools (like git, Windows, etc.) will save you time and frustration throughout your career. There will be times when you don’t have access to any UI, and even when you do, it might be different from what you learned at your previous job or in school.

Git Bash in particular is a handy tool for developers. It’s often included by default in your OS, or, if not, it’s a small install. The commands are always the same whether you’re running on Windows, Mac, Linux, or Unix. With a few commands you can be up and running in less time than it takes to install a UI tool.
While UIs have useful features, I recommend learning at least the basics of common command-line interfaces. That way, when you start a new job, your coworkers will be figuring out which UI tool the company uses, while you’ll already be pushing your code for review. Ok, nerd hat off.
Configure your git
First, you'll need to configure Git the first time you use it. If you've already set it up, feel free to skip ahead. Otherwise, use the global Git config commands in the terminal to set your email and username. Git comes pre-installed on Workbench, as it does on many platforms and operating systems today.
git config --global user.email "you@example.com"
git config --global user.name "Your Name"
Note: Insert your email and name in the red areas. Git is very exact, so make sure to include the correct spaces and characters.
SSH setup
Next up, we will create and your SSH key. You’ll need to add the key to your environment and GitHub.
Keygen
Let's generate a key. I recommend using a newer algorithm like ed25519 or ecdsa, as they are more secure and efficient than rsa. However, not all hardware supports every algorithm. For example, Workbench currently doesn’t support ed25519, which can be tricky to debug if you’re unaware of it. If you encounter a 'Permission denied' error during the verification step below, it may be because you're using an unsupported algorithm.
If you're on a Windows machine, another benefit of using the command line (especially Git Bash) is that it provides a Linux-like shell environment. This allows you to use the same commands to generate your key without extra configuration. While Windows has many strengths, its default setup isn’t always optimized for developers, which can make certain tasks more challenging. Anyway, since I’m using SAS Viya Workbench, I can just open a terminal and type the following:
ssh-keygen -t ecdsa -C "your_email@example.com"
Here’s a great overview on this from GitHub in case you’re interested in digging deeper.
Note: Your keys must be stored in a permanent, secure location. You cannot store them in a location with open permissions, as your key will be rejected when you attempt to add it to the SSH agent. In my Workbench environment, this means I need to have a home storage location set up. Otherwise, every time you restart your workbench the files will be deleted.
By default, the keys are generated inside your ~/.ssh folder. If your cloud environment is configured properly, this will be a permanent storage location, and your OS will know to look for keys there.
Once you run the command and go through the prompts, you’ll have 2 files in your ~/.ssh folder. One is your private key, and the other is your public key. Even though it's called a public key, do not share it or post it where it can be accessed by anyone other than yourself. Remember where this is as you’ll need it in the next step.
The last step here is easy and will make your life a lot easier working in the cloud. In the same ~/.ssh folder, create a new file called config. No file extension on this one. Create it however you want, but here’s the command line code:
touch ~/.ssh/config
Within that file, you’ll want to add the following... Make sure to replace “id_ecdsa” with the name of the key you created above:
Host github.com
        User git
        Hostname github.com
        PreferredAuthentications publickey
        IdentityFile ~/.ssh/id_ecdsa
I highly suggest adding this configuration – it’s easy to do and recreate across environments and will help avoid an annoying and hard-to-debug “GitHub permission denied” error. The nice thing about this is you can use this as-is in all your environments. Just make sure you point it to the correct IdentityFile which is the private key file you generated.
Add the key to your GitHub
Let’s add the key to GitHub. This lets your environment talk to GitHub to move repository items back and forth. Log into GitHub and click on your profile in the top right.
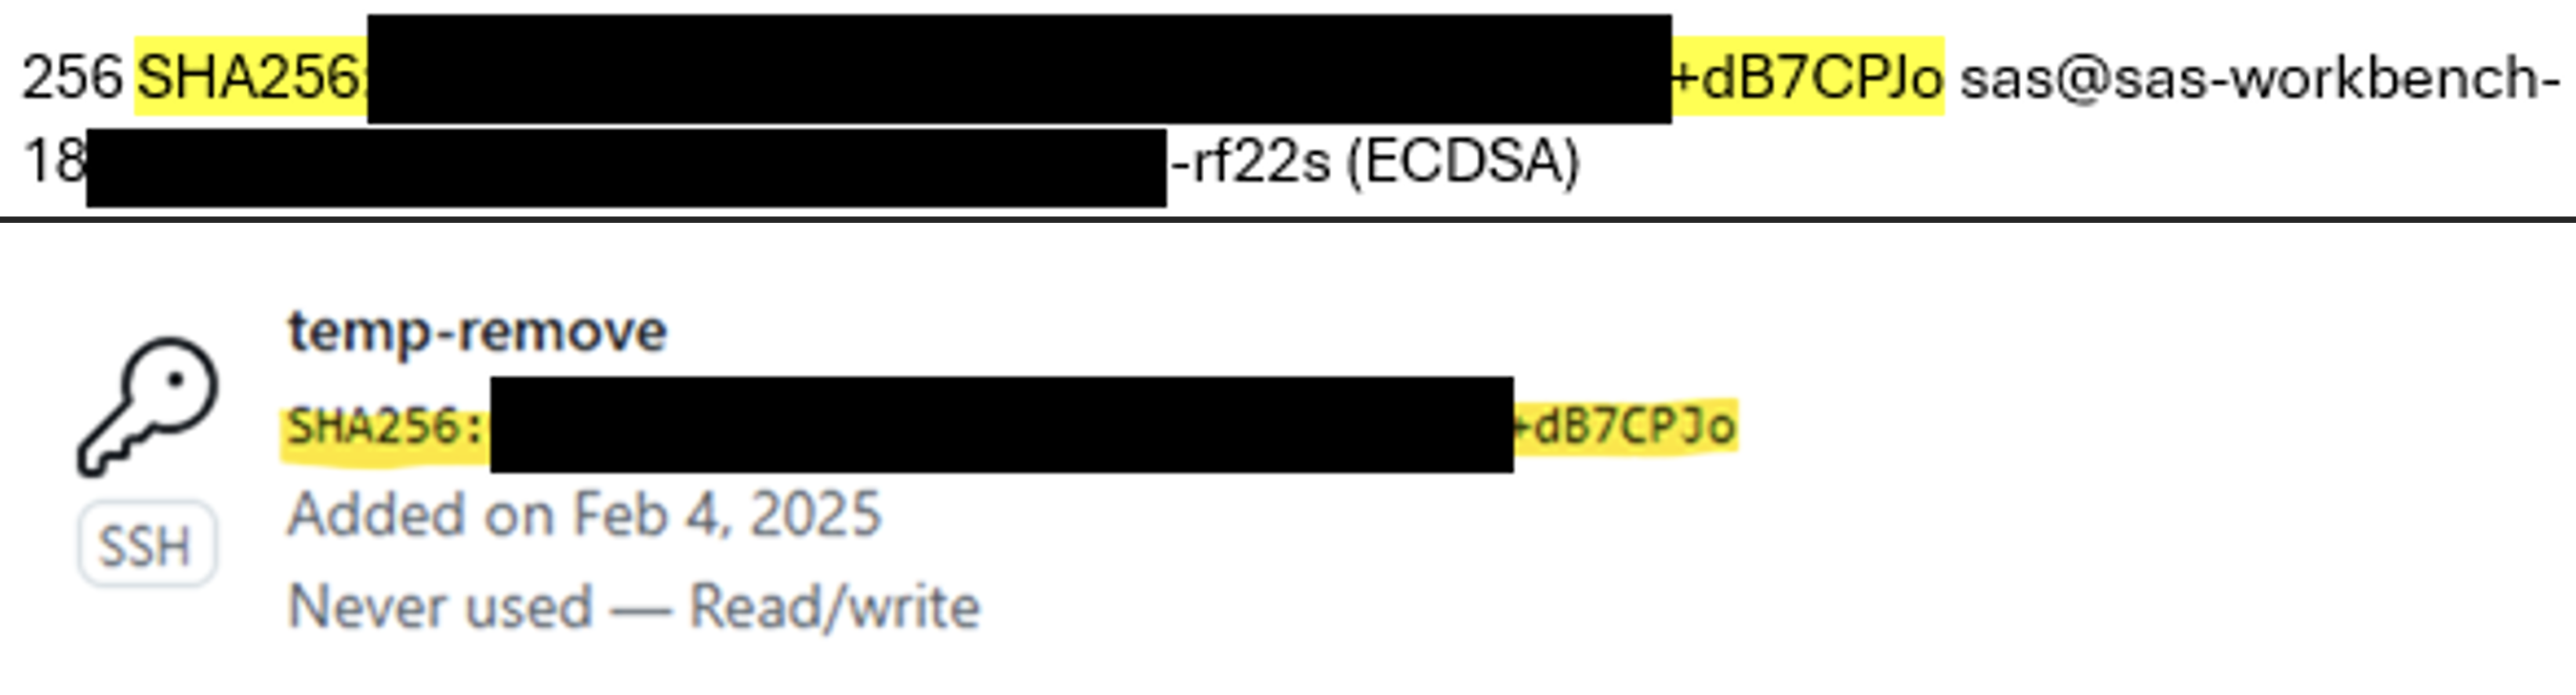
Click on settings and then SSH and GPG keys. Click the Add a new key button. Give it a name and copy the entire contents of the .pub file you just generated here.
SAS Viya Workbench tip: To get to your ~/.ssh folder, click the hamburger menu → File → add folder to workspace. Then point it to ~/.ssh and open the .pub file. If you’re using command line, you can use something like nano, emacs, vi, etc. to get the contents of the .pub file. ~/.ssh/id_ecdsa.pub
Add the key to your OS
Finally, you need to add your key to your local SSH agent. Beware here that the command changes based on your OS, but for SAS Viya Workbench (Linux) type in your terminal:
eval "$(ssh-agent -s)"
You should see a message like this:
> Agent pid 595
Then you can type the following command (if you left your keys in the default location, this command would automatically add the key you created):
ssh-add
Now, let’s finish up and verify your key was properly added and matches what’s in GitHub. Type this command:
ssh-add -l -E sha256
You should see long string of letters and numbers which will match what’s in GitHub:
Now, when you type the following command:
ssh -T git@github.com
You should now see:
“Hi username! You've successfully authenticated”
Note: if you’re asked if you want to continue, type “yes.”
Tools like GitHub also allow you to see when the last time your key was used. Thus, you can have many keys, perhaps one for each environment you use, and see when the last update was using that key. This can be useful for auditing or simply keeping a record of your activity across different setups.
And that’s it! You’re ready to go.
BTW, I am not some old graybeard, but a simple millennial (insert your favorite millennial joke).
Learn more
- SAS® Viya® Workbench Demo: Solving Your Productivity Challenges
- Download e-book: Five reasons developers hit a productivity wall – and what to do about it
- Read blog article: 3 SAS Viya Workbench use cases for SAS Users
- Read blog article: SAS Viya Workbench & SAS Model Manager for Model Training and Deployment: SAS Models
- Read blog article: Install VS Code Extensions Offline: Step-by-Step Guide