In a previous post, Zero to SAS in 60 Seconds- SAS Machine Learning on SAS Cloud, I documented my experience with a SAS free trial on the SAS Cloud. Well, the engineers at SAS have been busy and created another free trial. The new trial covers SAS Event Stream Processing (ESP).
This time last year (when just starting at SAS), I only knew ESP as extrasensory perception. I'm more enlightened now. Working through this exercise introduced me to how event stream processing is a powerful and effective tool for analyzing data using machine learning and streaming analytics to uncover insights for real-time decision making. In a nutshell, you create a model, stream your data, process the results, and make timely decisions based on the results.
The trial uses SAS ESPPy, allowing you to embed an ESP project inside a Python pipeline. To see ESPPy in action take a look at this video. To learn more about ESP and IoT see this article on the SAS Communities Library. In this article I chronicle my journey through the trial while introducing key concepts and operations of ESP.
Register and get started
The process to register and initial login are identical to the machine learning article. You must have a SAS Profile to participate in the trial. The only difference is you need to follow this link to sign up for the ESP trial. Please refer to the machine learning article for detailed steps of signing up and logging in.
The use case
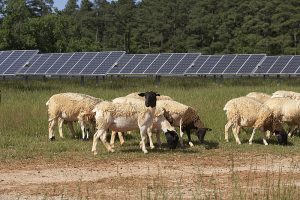
As part of the environment management, it is important to continuously monitor the operation of the solar panels to optimize configuration parameters, detect potential equipment failure, and accurately forecast the amount of energy generated. Factors considered include panel angles, time of day, seasons, and weather patterns as the energy generated depends directly of the amount of sun available to the panels.
The ESP project in this demo is pre-loaded in the trial and is run through a Jupyter notebook. The project shows the monitoring of energy (kWh) and power (kW) generated during a specific time interval eliminating localized outlier effects and triggering alerts when there is a pre-defined difference in the energy generated between subsequent time intervals.

Disclaimer: no sheep were harmed during data collection or writing of this article.
Navigating the trial
Once logged into the trial, you see the Applications screen.
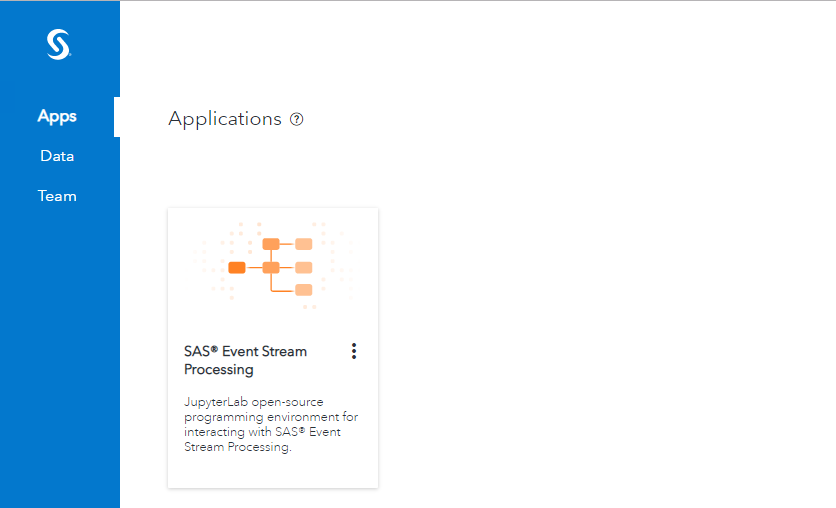
The Data and Team options in the left pane behave exactly as those in the machine learning trial. These sections allow you to access data and manage a multi-user system. Select the SAS Event Stream Processing icon to start a JupyterLab session.
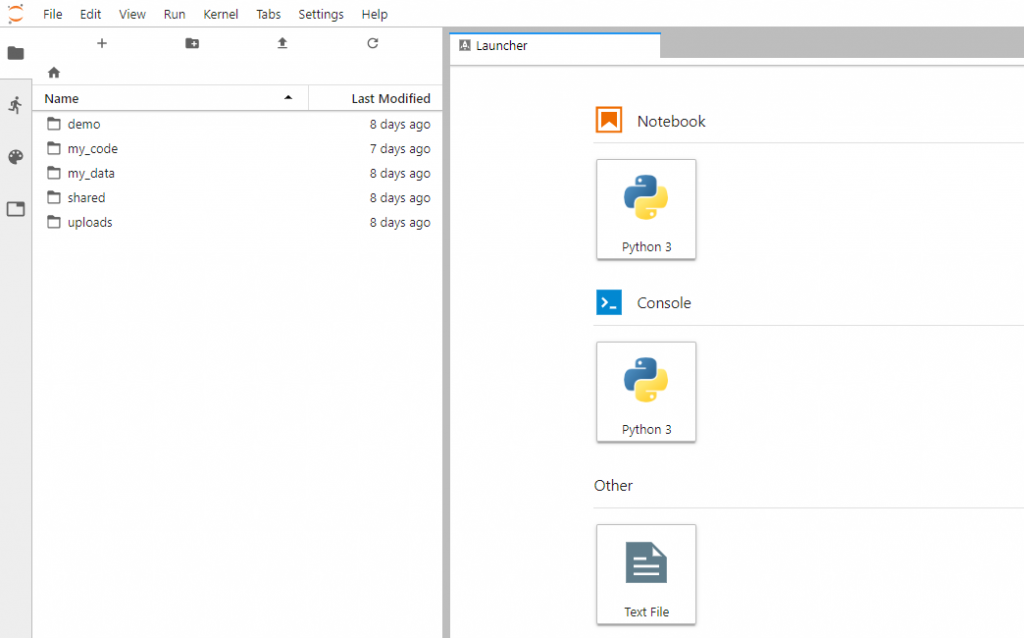
I will not go into the details of JupyterLab here. The left pane contains menus, file management, and other options. The pane on the right displays three options:
Python 3 Notebook - a blank Jupyter notebook - documents that combine live, runnable code with narrative text (Markdown), equations (LaTeX), images, interactive visualizations and other rich output
Python 3 Console - a blank Python console - code consoles enable you to run code interactively in a kernel
Text File - basic text editor - enables you to edit text files in JupyterLab
For this article we're going to follow along and interact with the pre-loaded demo Solar Farm ESP project. To locate the Jupyter notebook double click the demo directory from the left pane.
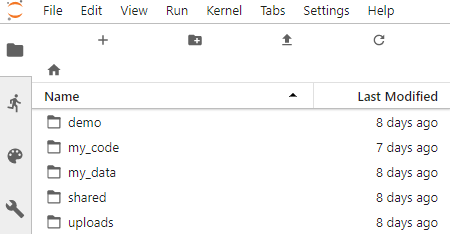
Next select Event_Stream_Processing. Before proceeding with the demo, I'd highly suggest opening the README.ipynb file.
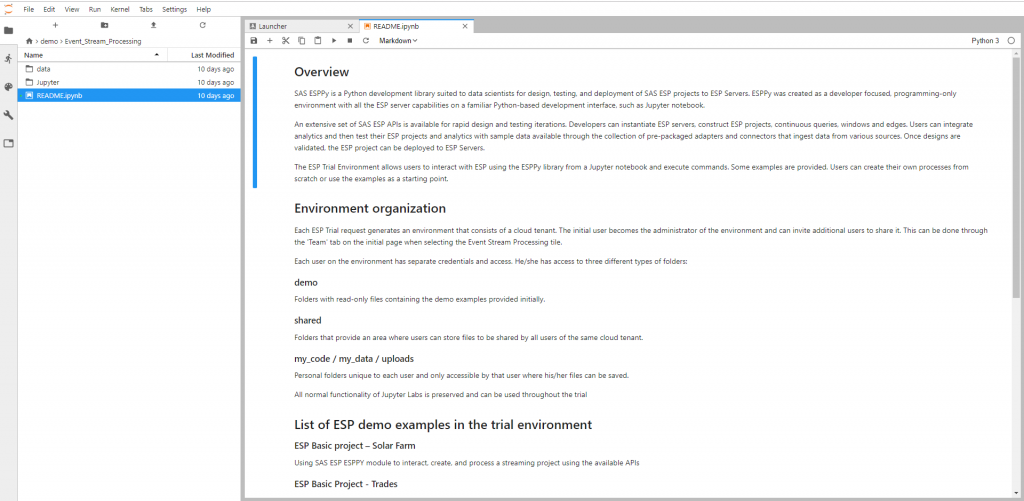
Here you will find overview and environment organization information for the trial. The trial uses SAS ESPPy for designing, testing, and deploying projects on ESP Servers.
Step through the demo
Before starting the trial, I needed a little background on event stream processing. I located the SAS ESP product documentation. I recommend referring to it for details on the ESP model, objects, and workflow.
To access the demo, double click the demo directory from the left pane. The trial comes with five pre-loaded demos. Feel free to try any/all of them. Double click on ESP Basic Project - Solar Farm.ipynb to display the Solar Farm notebook. The notebook walks you through the ESP model creation and execution. To run a command place the cursor in a command cell and select the 'Run' button (triangle-shaped button at the top of the notebook). If no response returns when running the cell block, assume the commands ran successfully.
Below is a brief description of the steps in the project:
- Create the project and query used - this creates dedicated space and objects where the ESP process takes place
- Create input and aggregate windows - this action extracts desired data and creates data subsets from the stream
- Add a join window - this brings together lag and current values into the project
- Add a compute window - this calculates the difference between the previous and current event
- Add a filter window - this action filters occurrences outside a threshold value; this creates an alert for potential mechanical issues
- Define workflow connections - this defines the workflow between the various windows in the project
- Save the project - this generates an XML file for the project
- Load the project to the ESP Server - this loads the project and produces a graphical representation of the workflow

Solar Farm project workflow - Start streaming data - in this example, rather than streaming data in real time, the stream derives from the solar farm table data
- View solar farm data - this creates a graphical representation of streaming data

Solar Farm graph for kW and kWh
While not included in the demo, the streaming data would pass through the filter and if a threshold breach occurs, an alert is created. Considering the graph above, alerts could very well have occurred just before 1:15 pm (IntkW drops from 185 to 150) and just before 2:30 pm (IntkW drops from 125 to 35).
Your turn
Now that you have a taste of ESP, feel free to step through the rest of the demos. You may also load your own data and create your own ESP models. Feel free to share your experience and what you create by leaving a comment.

2 Comments
Joe,
Thank you for this excellent post! I cannot wait to try this out myself!
Mark
Nice post Joe, thanks for that.