Happy New Year! If you have “adopting SAS metadata” as one of your New Year’s resolutions, I’m here to help you! In my last post in the metadata series, I shared with you all of the reasons why I love SAS metadata. I’d like to kick off 2013 with helping you get started with some of the most common SAS metadata tasks. The first step will be identifying users and setting user permissions.
The most vital piece of user information required by SAS is that each SAS user must have one external account ID. SAS will create its own copy of that ID to establish a unique SAS identity for each user that is connecting to SAS. All user permissions are then tied to that SAS identity.
Here are some rules of thumb:
- If the metadata server is on Windows, users typically have Active Directory accounts.
- If the metadata server is on UNIX, users might have UNIX accounts. Sometimes a UNIX host recognizes LDAP, Active Directory, or other types of accounts.
- In a common alternate configuration, the metadata server trusts authentication that is performed at the Web perimeter. In this configuration, anyone who uses a Web application needs a Web realm account.
SAS Management Console is where you can make all of the metadata magic happen!
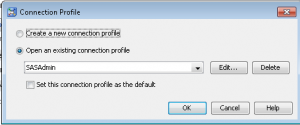
- Log in to the SAS Management Console as an administrator. For metadata administrators, it is appropriate to use a SAS internal account, like SASAdmin.
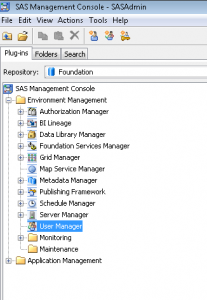
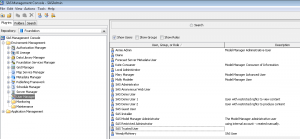
- Select the User Manager node on the Plug-Ins tab.
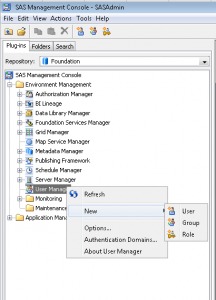
- Right click and select New -> User.
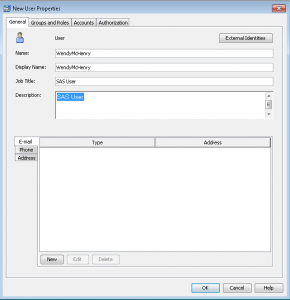
- On the General tab, enter the user information. Please note it is recommended that you avoid using spaces or special characters in the name of a user, group, or role that you create. Not all components will support spaces and special characters!
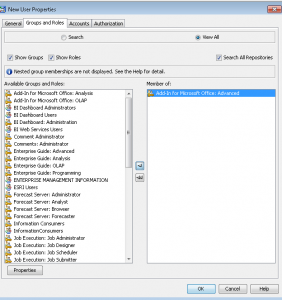
- On the Groups and Roles tab, select the appropriate groups and roles you’d like for that user. In future posts, we’ll look at creating custom groups and roles. If you are using this functionality for the very first time, the predefined groups are either very broad (PUBLIC, SASUSERS) or very narrow and highly privileged (SAS Administrators). The user automatically belongs to the group PUBLIC (which is everyone who can access the metadata server) and SASUSERS (those members of PUBLIC who have a well-formed user definition). The functionality you are looking for to control permissions to who can do what can be found right here!
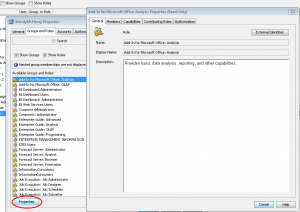
- If you would like more information on the capabilities of each group or role, highlight the one you wish to investigate and the select Properties.
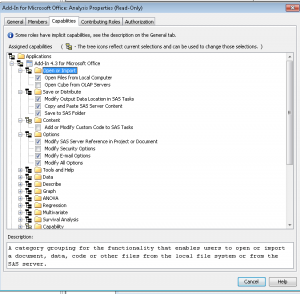
- From here, you can view the members that belong to that group or role, but the important part is the Capabilities tab. If you are an administrator, you will have the ability to set these capabilities.
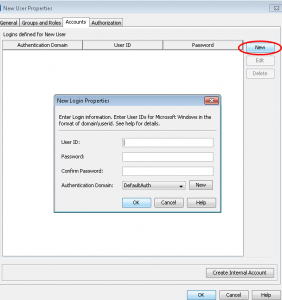
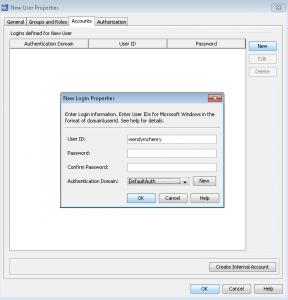
- Select OK to get back to the main user properties window. On the Accounts tab, select New to begin adding a new user login.
- As you are the SAS Administrator, just enter the userid. You can leave the password blank if it is a SAS userid. A third-party DBMS might require a different set of credentials, but your end-user can enter these credentials through a prompt in some applications, and through others by the use of the SAS Personal Login Manager.You will need to make sure you are selecting the correct authentication domain. An authentication domain is a name that will match the login with the server for which they are valid. The very simplest scenario is that all logins and SAS servers are associated with a single authentication domain, which is called DefaultAuth. Why would you need to add more authentication domains?
- If you user Web authentication, you might need a different authentication domain for the login that contains the Web realm userid.
- If you want to provide seamless access to a third-party server, like a database, that has its own user registry- you will need a separate authentication domain for that server and its logins.
- If the standard workspace server does not share an authentication provider with the metadata server or you want seamless individualized access to the standard workspace server, you will need a separate authentication domain.
Please make note of two important points for Windows accounts. If it is a Windows account, make sure you qualify the ID (for example WIN\user or user@mycompany.com). Anyone using Windows host credentials to access a standard workspace server also must have the “Log on as a batch job” Windows privilege.
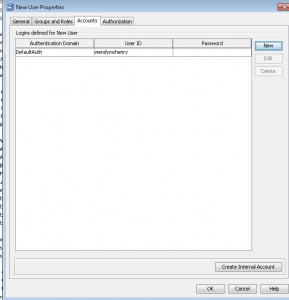
- Once you select OK, you can see the user’s login.
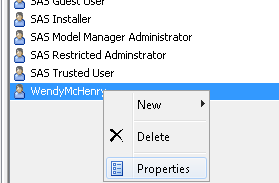
- Select OK without going to the final tab yet. Now scroll to the user within Management Console.
- Right click and select Properties.
On the final tab, the Authorization tab, does not determine what this user can see or do. Permission settings here affect the ability of restricted users to modify this user. User, group, and role definitions are primarily protected by role requirements.
Once you have added all of your users, you can then move on to other administrator tasks. Next time in our metadata series, we’ll take about configuring a server definition. I wish you all the best for a Happy and Healthy 2013. Happy New Year!
